
Disclosure: This post may contain affiliate links. If you purchase through one of our links, we may earn a commission at no additional cost to you.
Back in 2020, we featured a tiny writer’s cabin tucked into the forest above Ashland, Oregon. It was about as small as a cabin gets: a 10′ x 10′ Summerwood Bala Bunkie kit with French doors, a fan-arched window in the gable, a writing desk, and a sleeping loft up a drop-down ladder.
Six years later, the same cabin is still welcoming guests, now as the Owl Creek Cabin. It’s also grown. The owners have added a side wing with a second sitting room, wrapped the front in a much bigger deck, and built out the land around it with a stone fire pit, an outdoor clawfoot tub, and flower beds. It’s a great real-world example of an old idea that’s worth bringing back: build small, then add on when you need to.
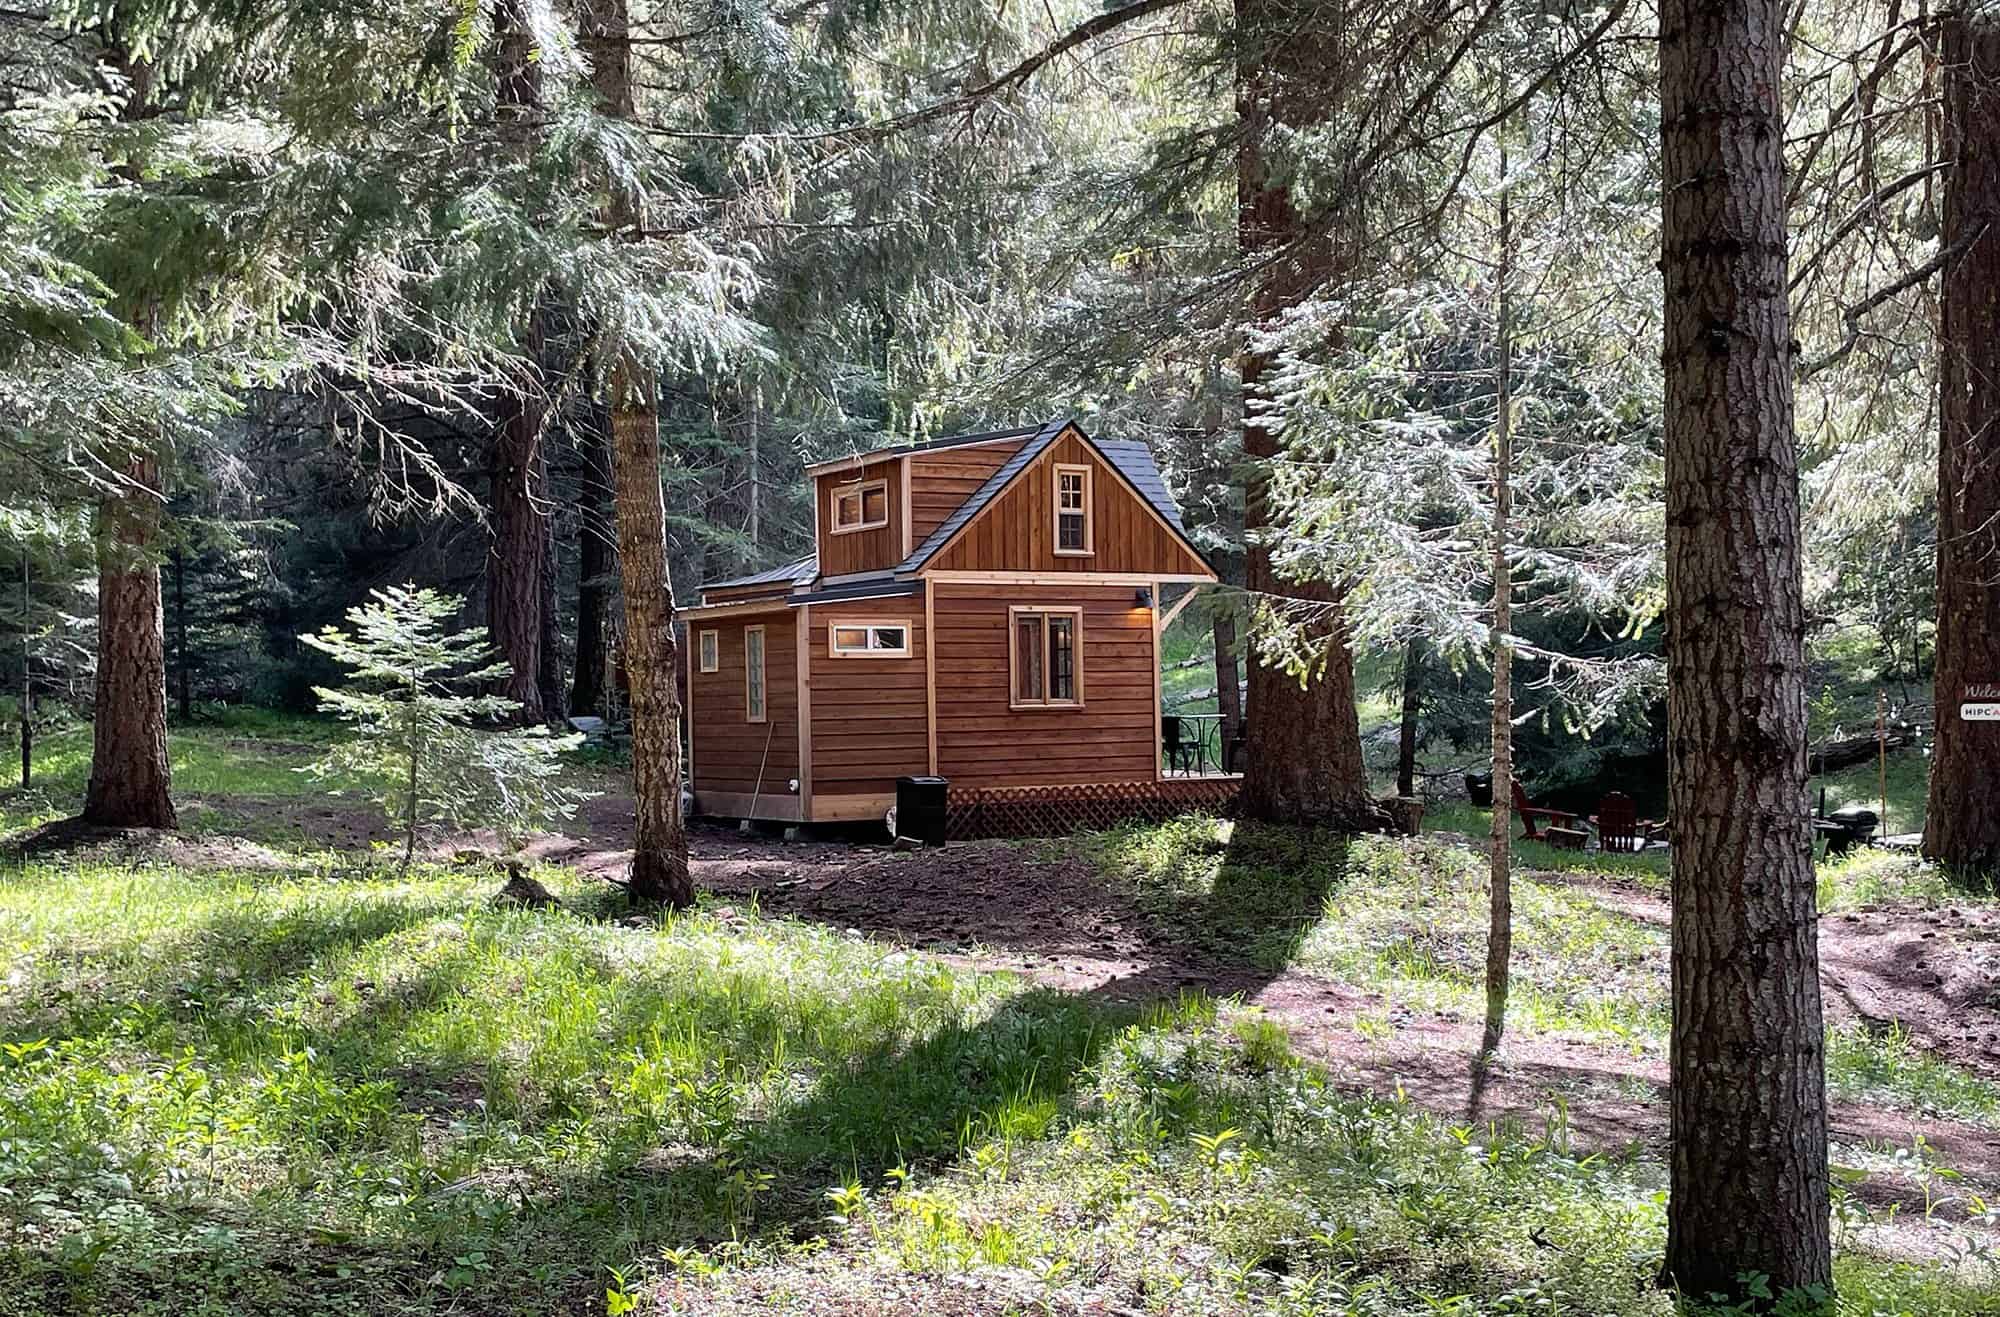
Image via Glamping Hub
Where It Started: A 100 Square Foot Kit Cabin
Here’s how the cabin looked when we first shared it. It’s one tall gable with a small front landing, and inside, a single room of about 100 square feet with a loft overhead. Summerwood sells the Bala Bunkie as a pre-cut kit you assemble yourself. Their product page for it is actually titled “Bala Bunkie Ashland Oregon,” and when one of our readers tracked down the kit back then, it came to just over $15,000 with the windows and doors included.

The cabin in 2020. Image via Glamping Hub
That was a complete, usable little getaway on day one. Nothing about it needed to be bigger to work. That’s what makes what happened next so interesting.
What’s Been Added Since
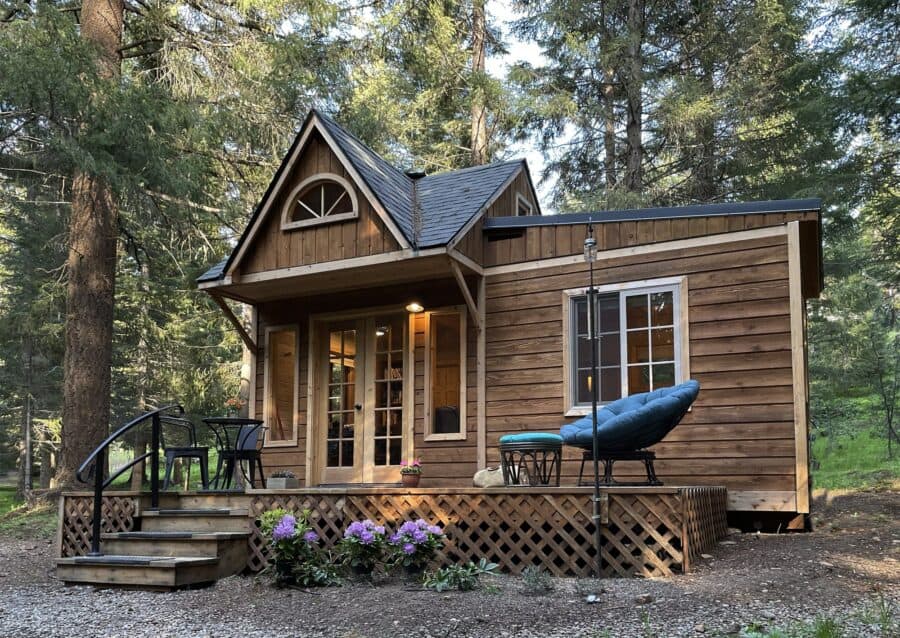
Compare our 2020 photos with today’s listing and the changes jump out. A lower, shed-roofed wing now extends off one side of the original gable, roughly doubling the cabin’s footprint. The photo at the top of this post, taken from the trees, shows the original gable and the newer section side by side.
From above, you can see the whole layout: the steep original roof, the lower addition beside it, the deck in front, and the fire pit circle out in the clearing.
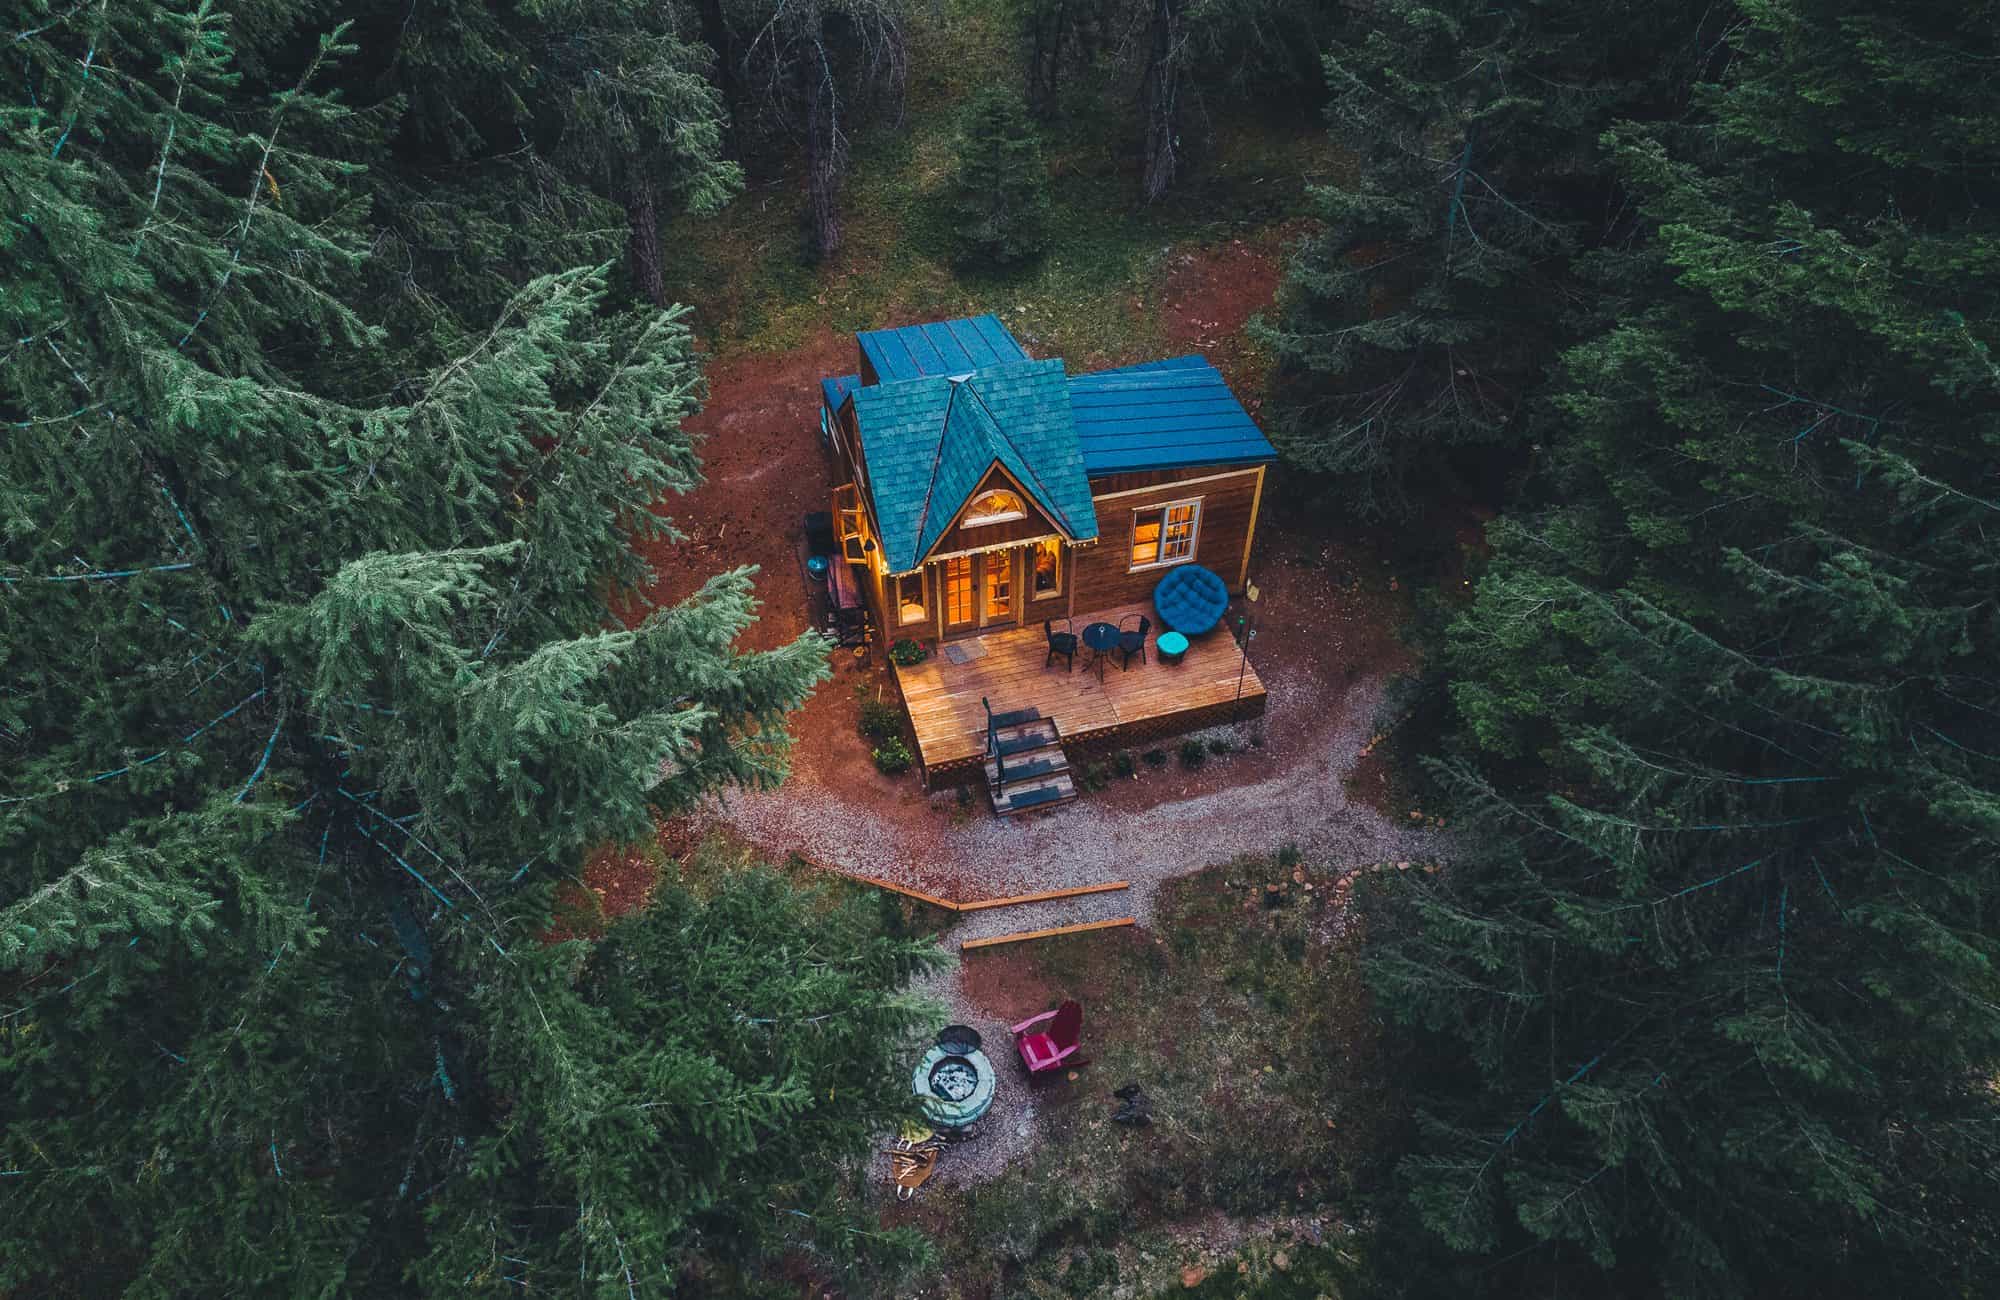
Image via Glamping Hub
The tiny front landing has also grown into a full deck with lattice skirting, railings, and room for a bistro table and a papasan chair. It’s an easy upgrade that makes a small cabin live much bigger in good weather.
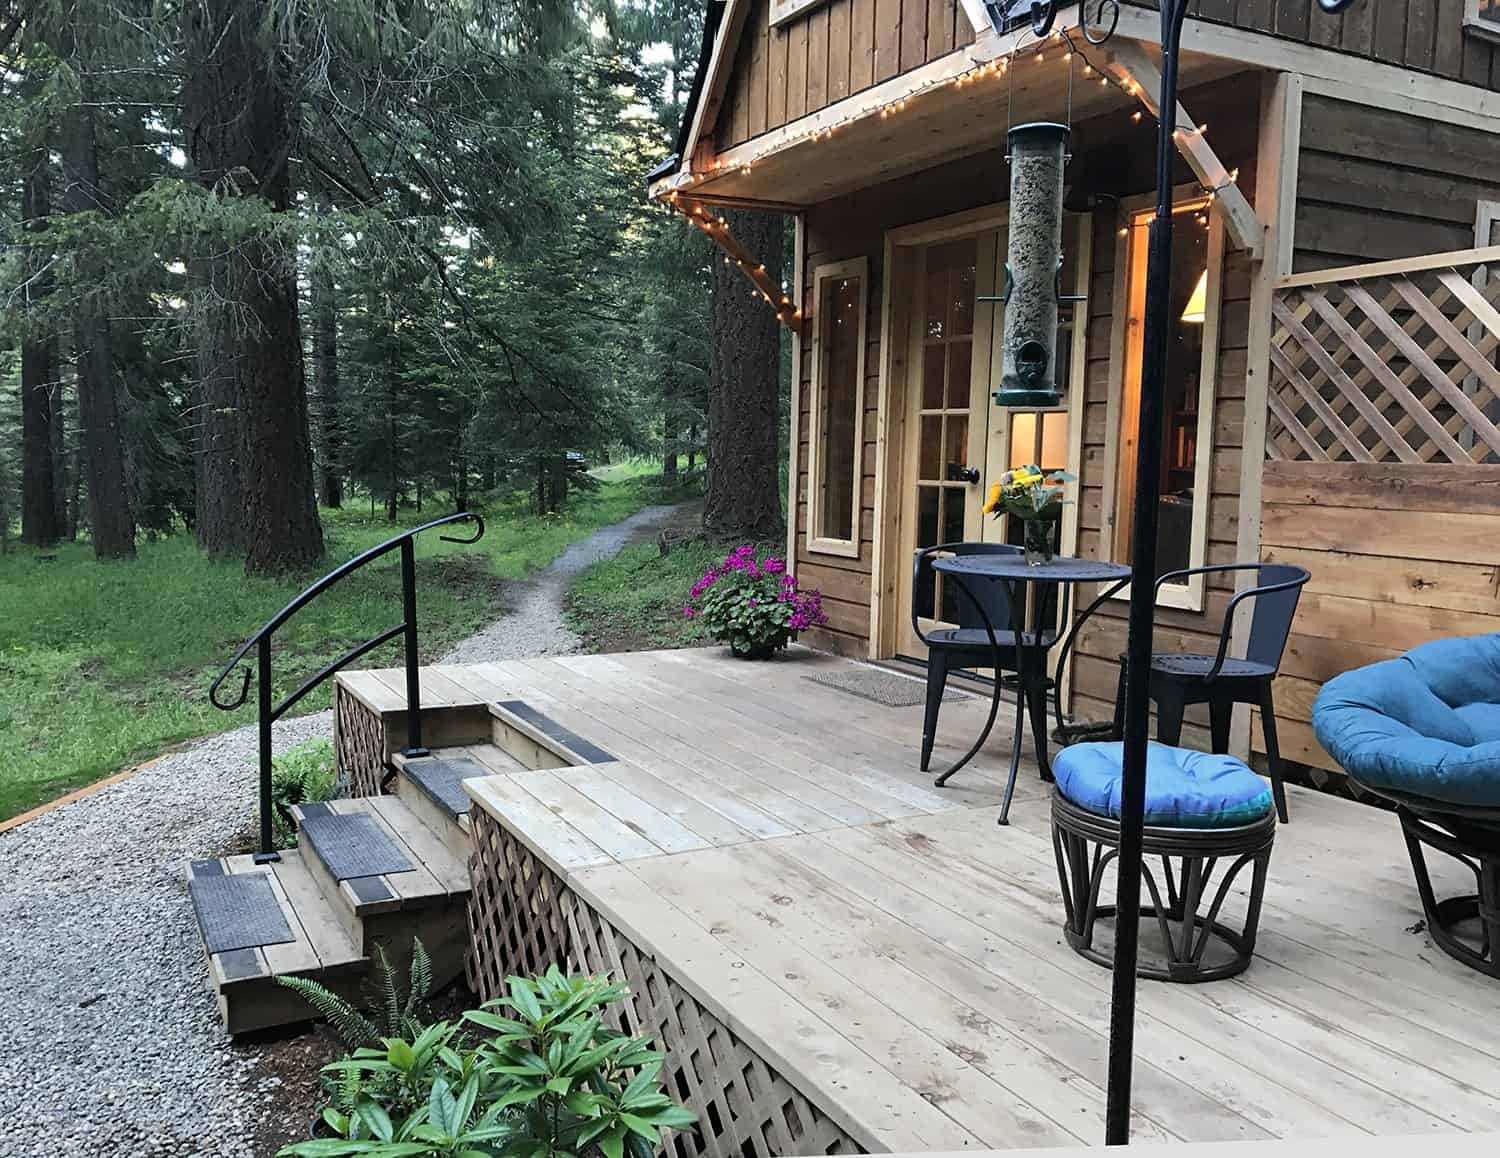
Image via Glamping Hub
The Original Room Still Works the Same Way
Step through the French doors and the original room is still the heart of the place: a writing desk facing the window, a leather armchair, a rug, and the doors swung open to the forest. With a new room off to the side, this space doesn’t have to do everything anymore.
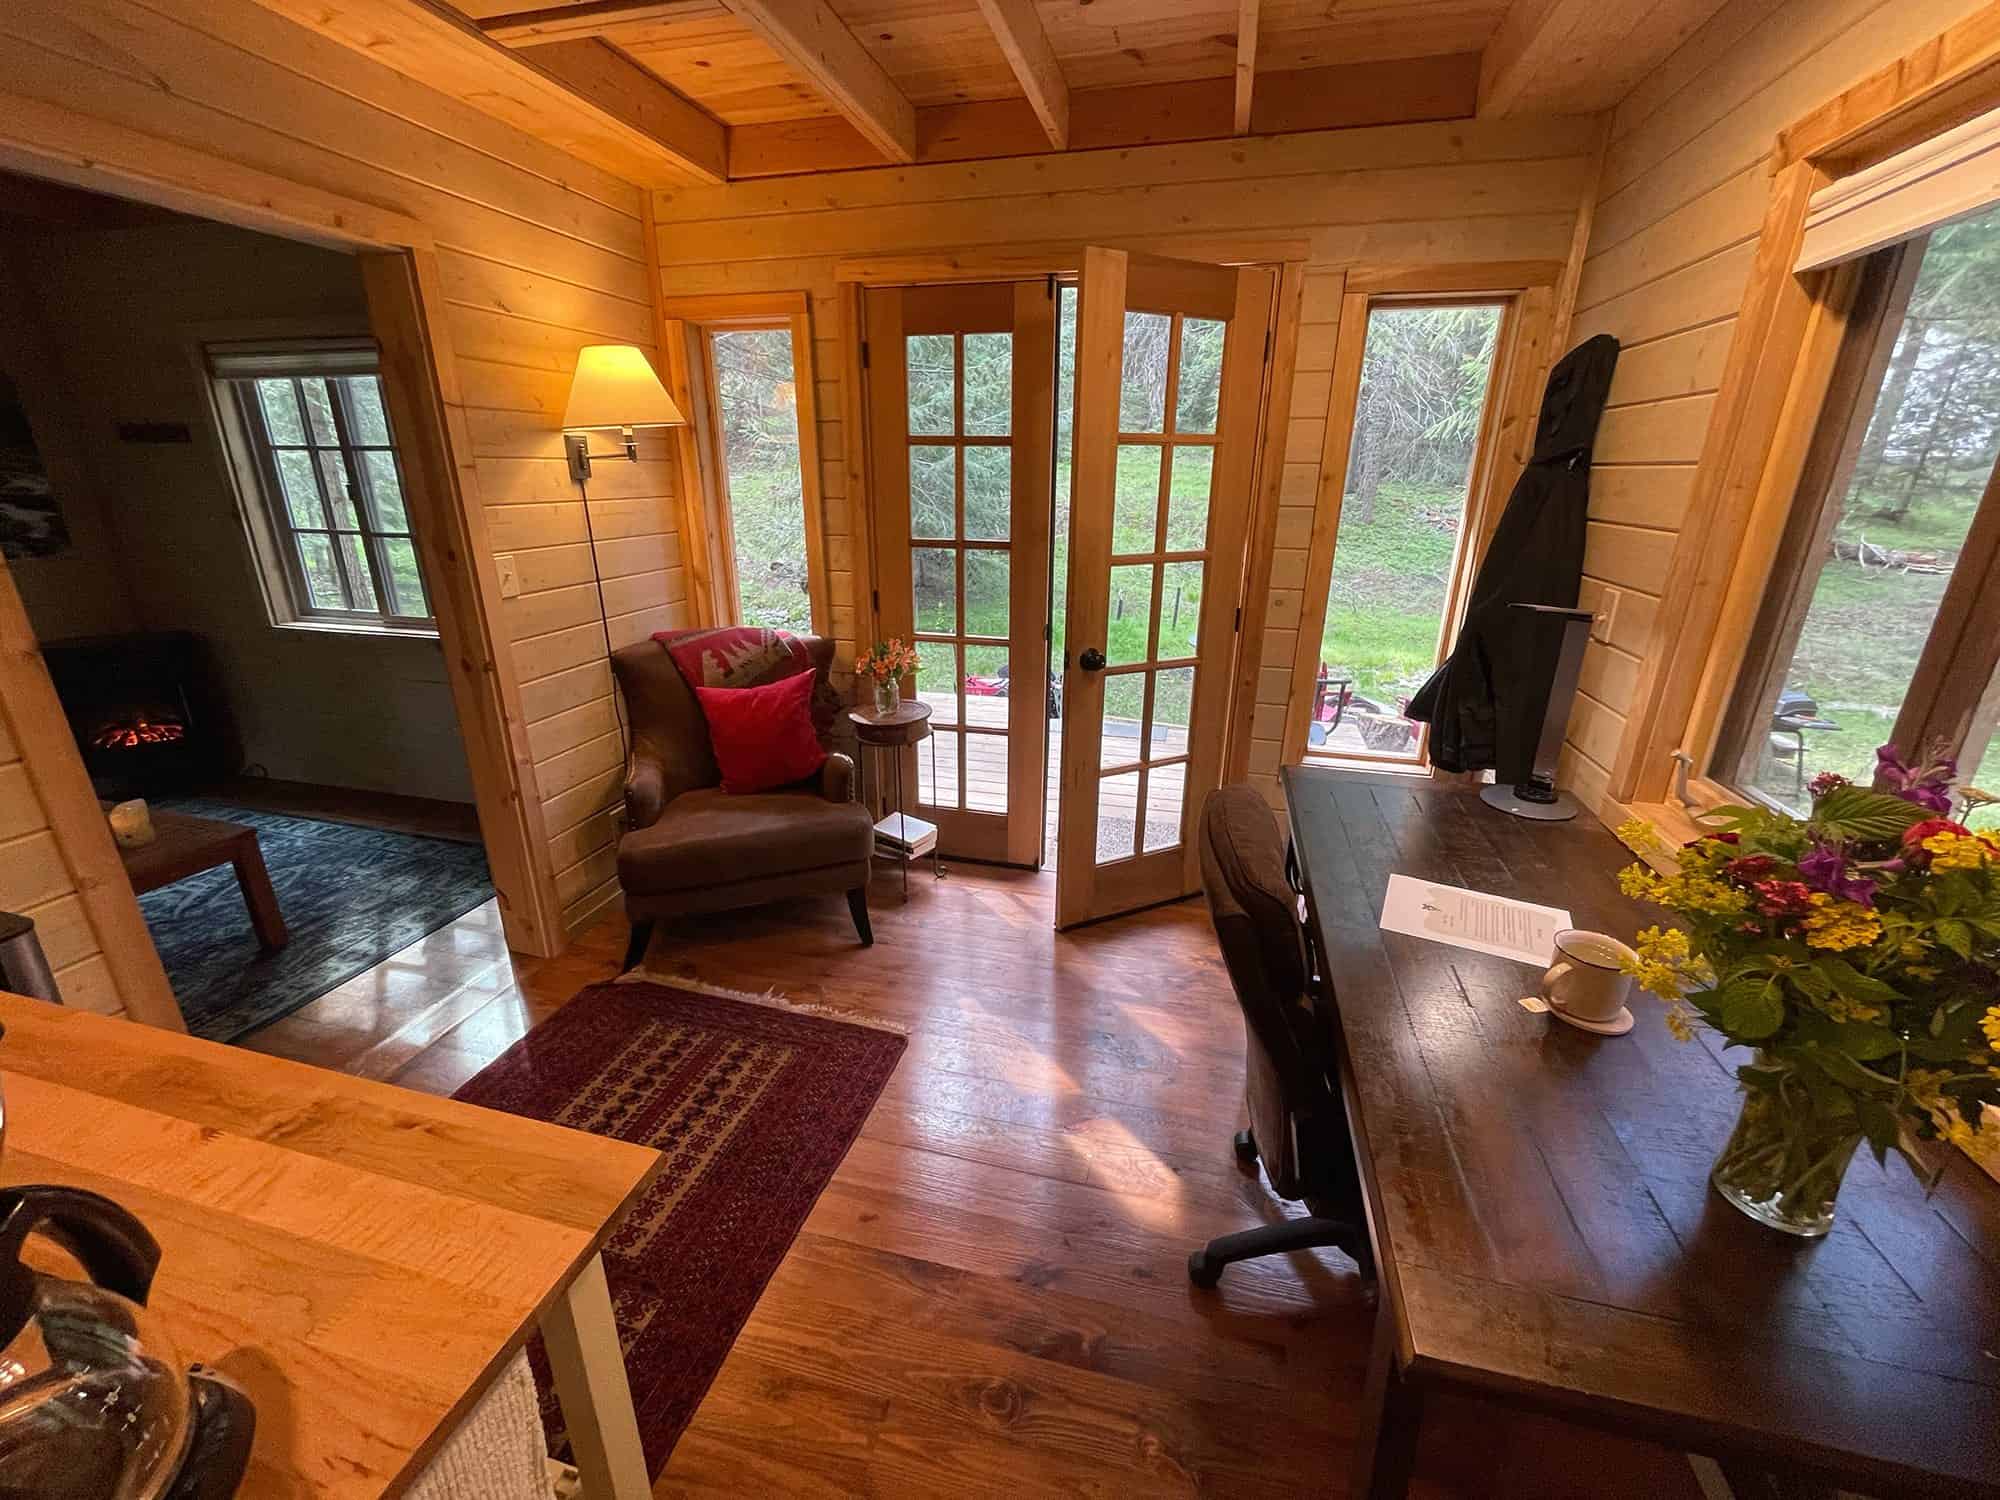
Image via Glamping Hub
The “coffee cart kitchen” sits along one wall with a refrigerator/freezer, coffee maker, electric kettle, toaster oven, and microwave. Real cooking happens outside on a gas grill, which keeps the cabin simple.
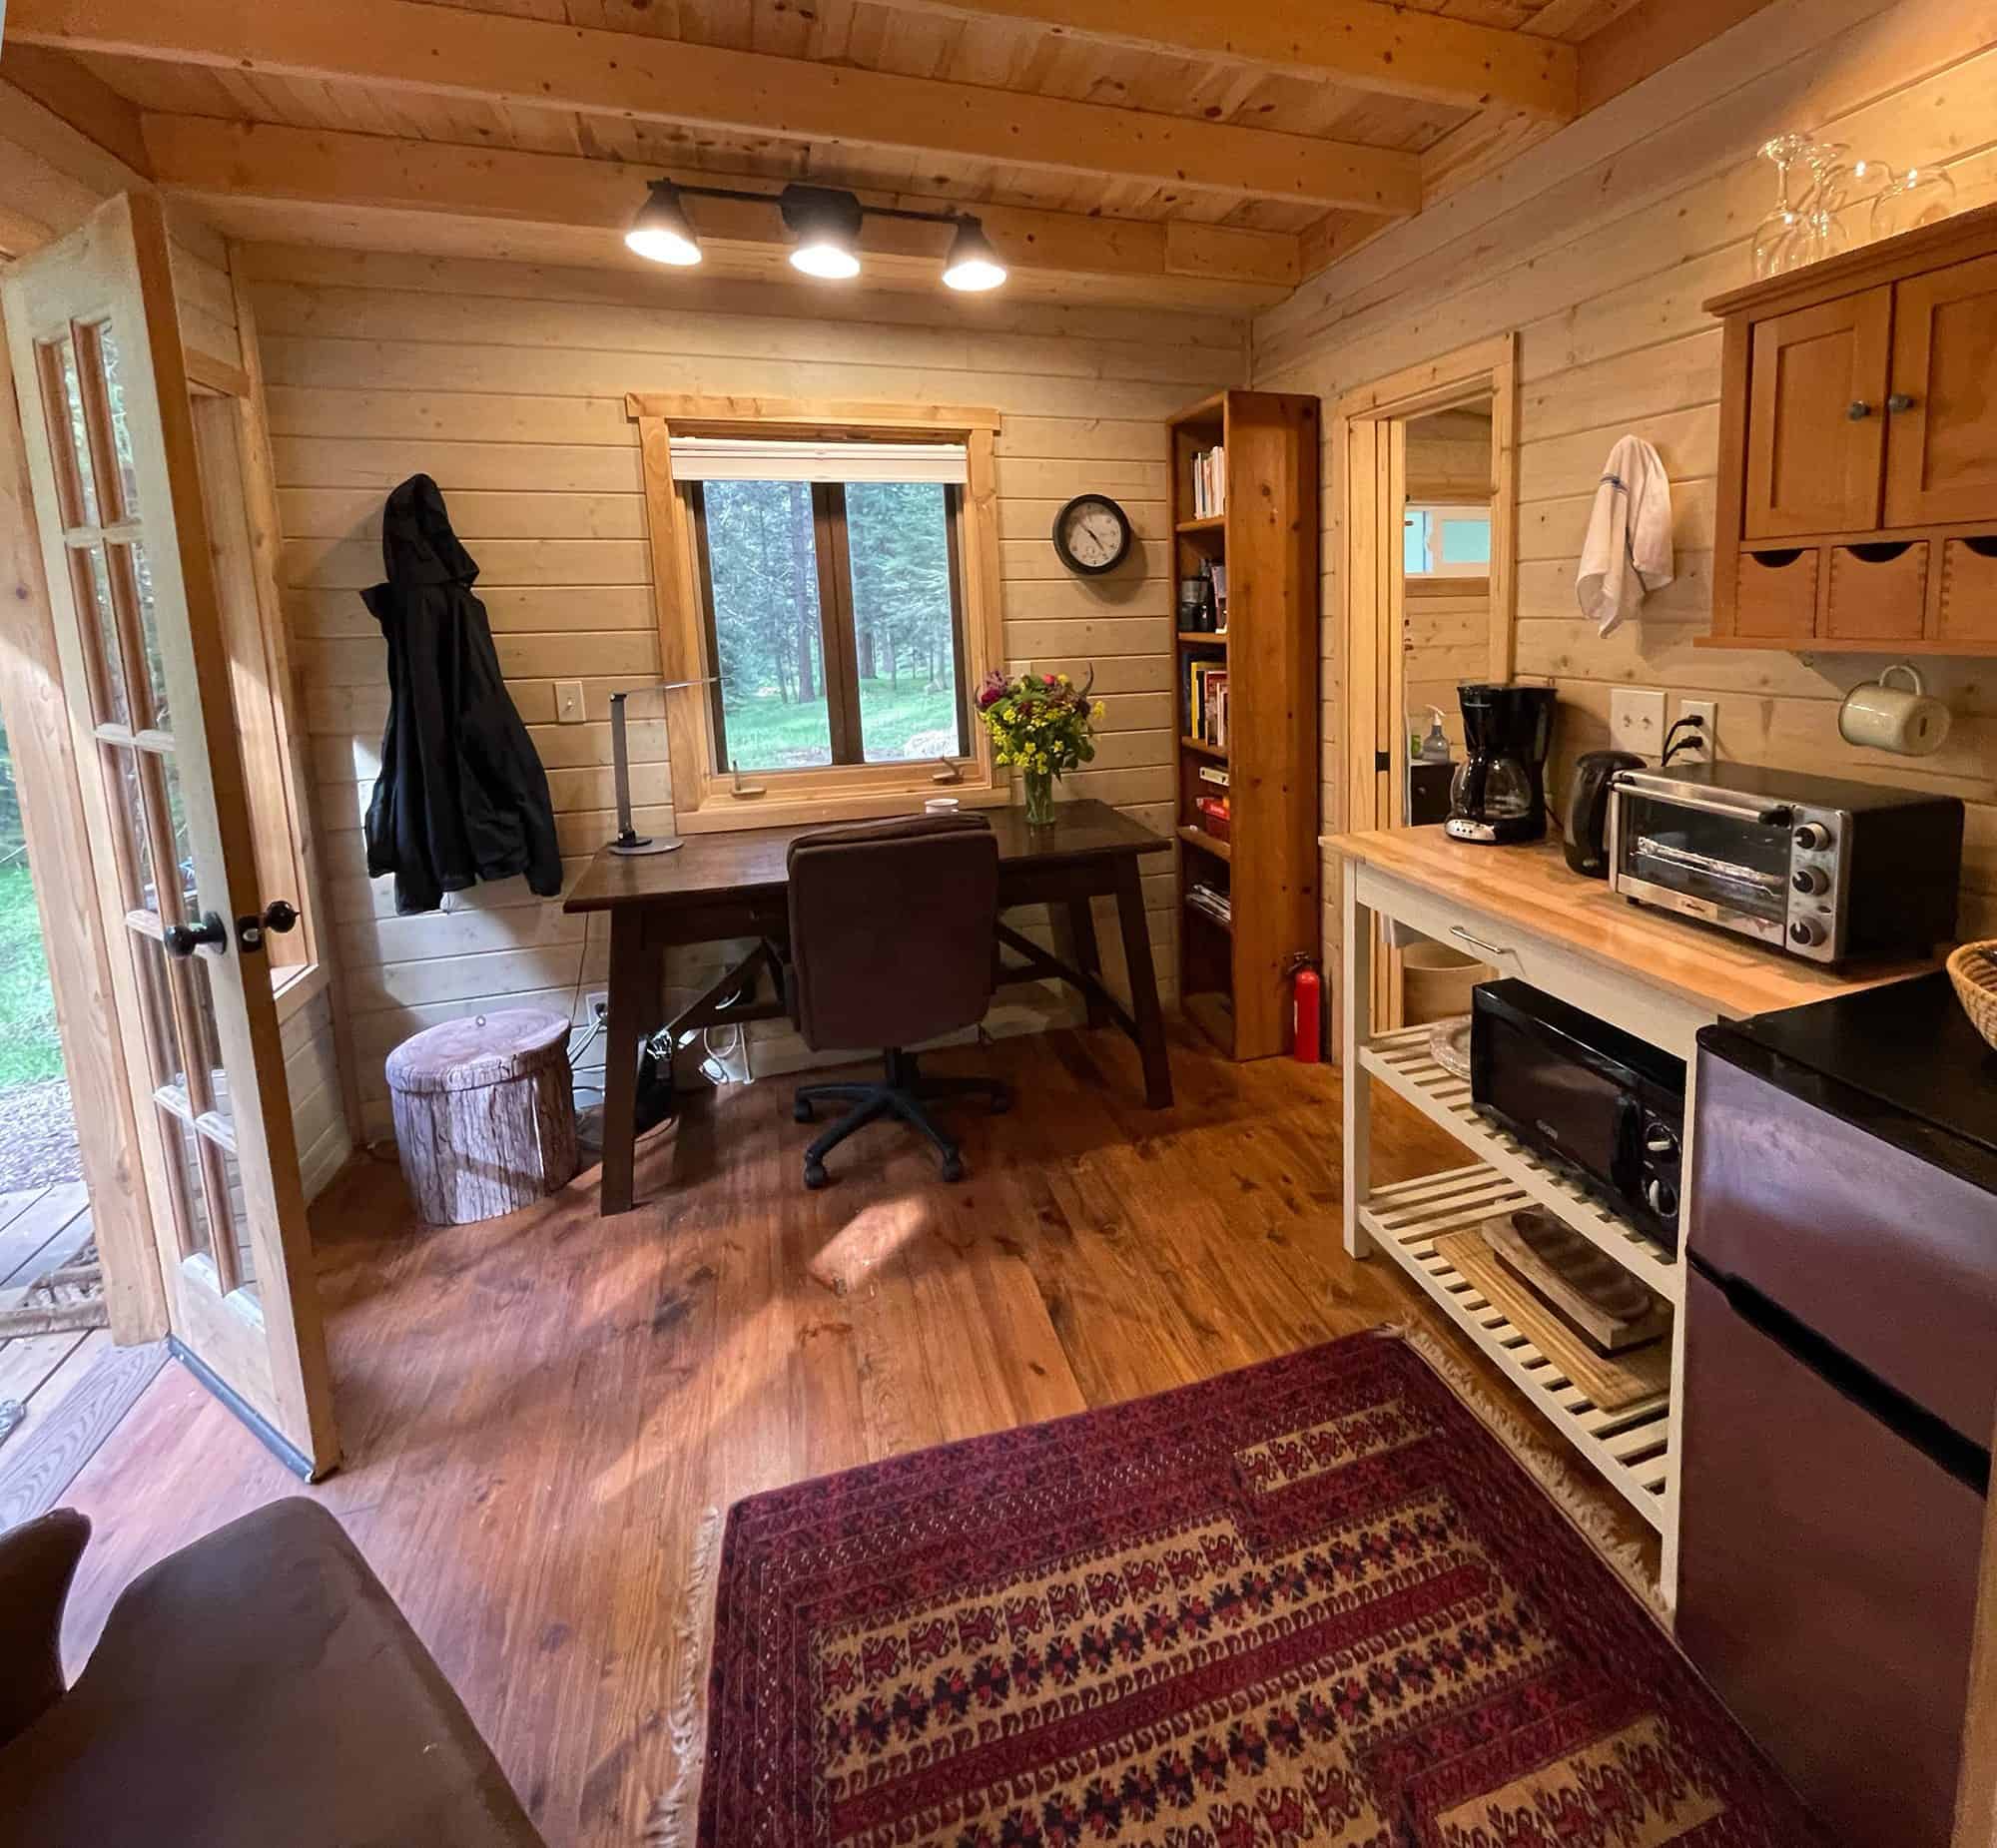
Image via Glamping Hub
A Second Room Changes Everything
This is what the addition buys you. Through a doorway off the main room there’s now a separate sitting room with a sofa, an electric fireplace, and windows on two sides. In 2020 the fireplace shared the one room with the desk. Now there’s a cozy spot to read that isn’t also the office.
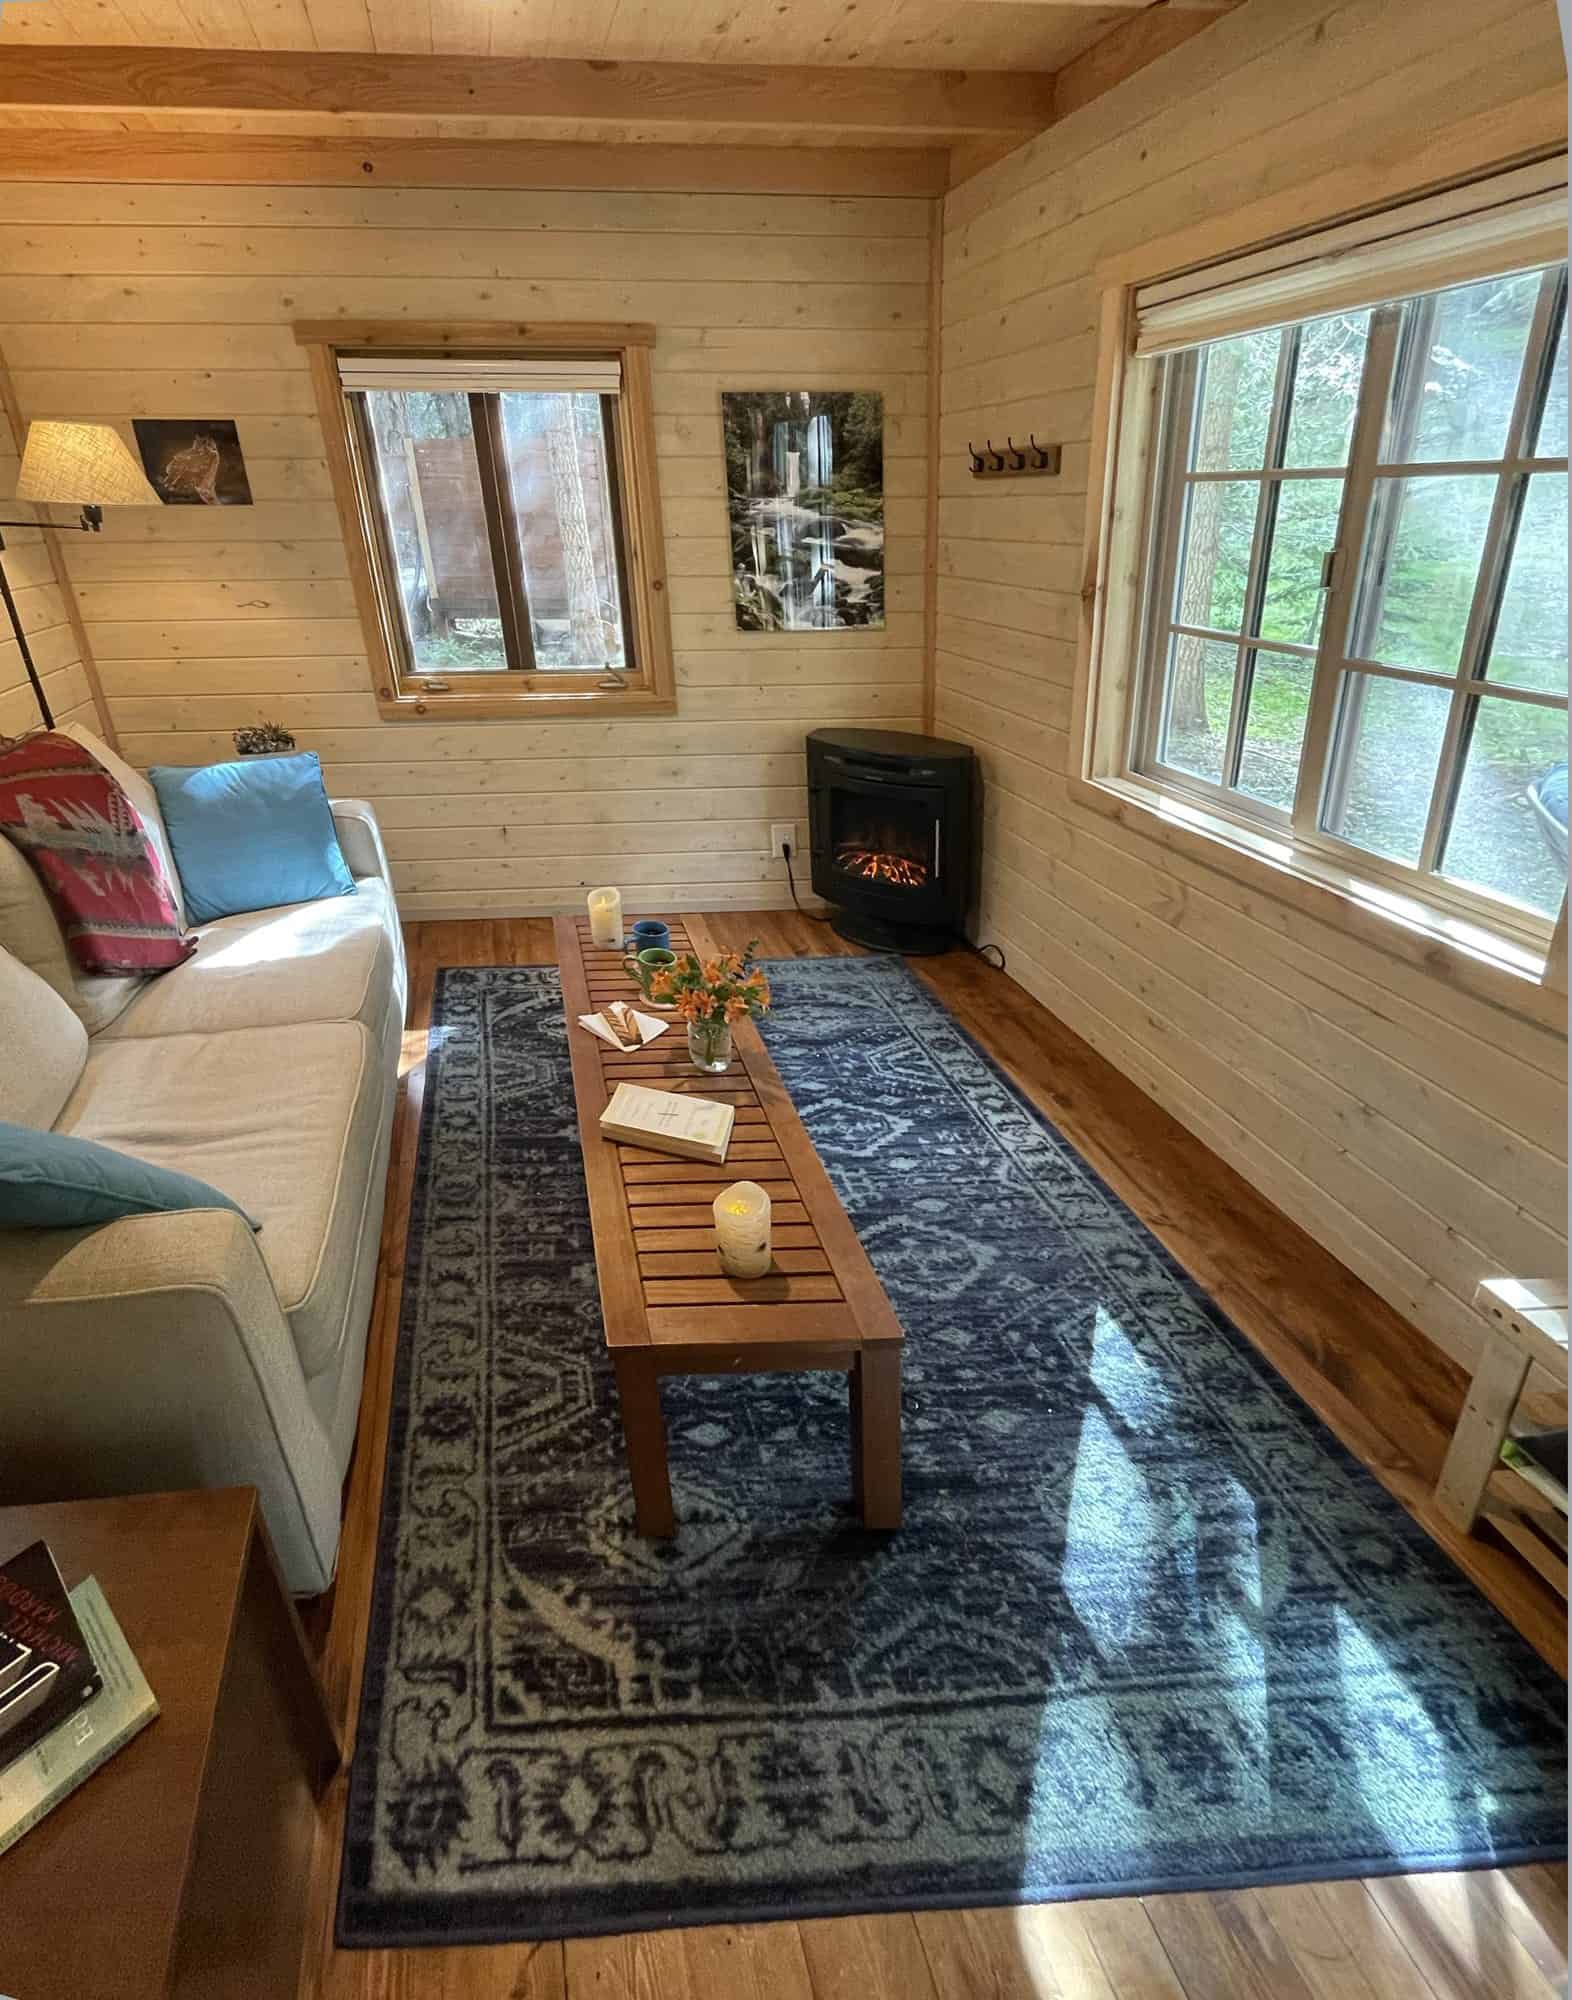
Image via Glamping Hub
The sofa pulls out into a bed, so the cabin now sleeps three. That’s a small change on paper, but for a rental, or a family cabin, a second sleeping spot that doesn’t involve a ladder makes a big difference.
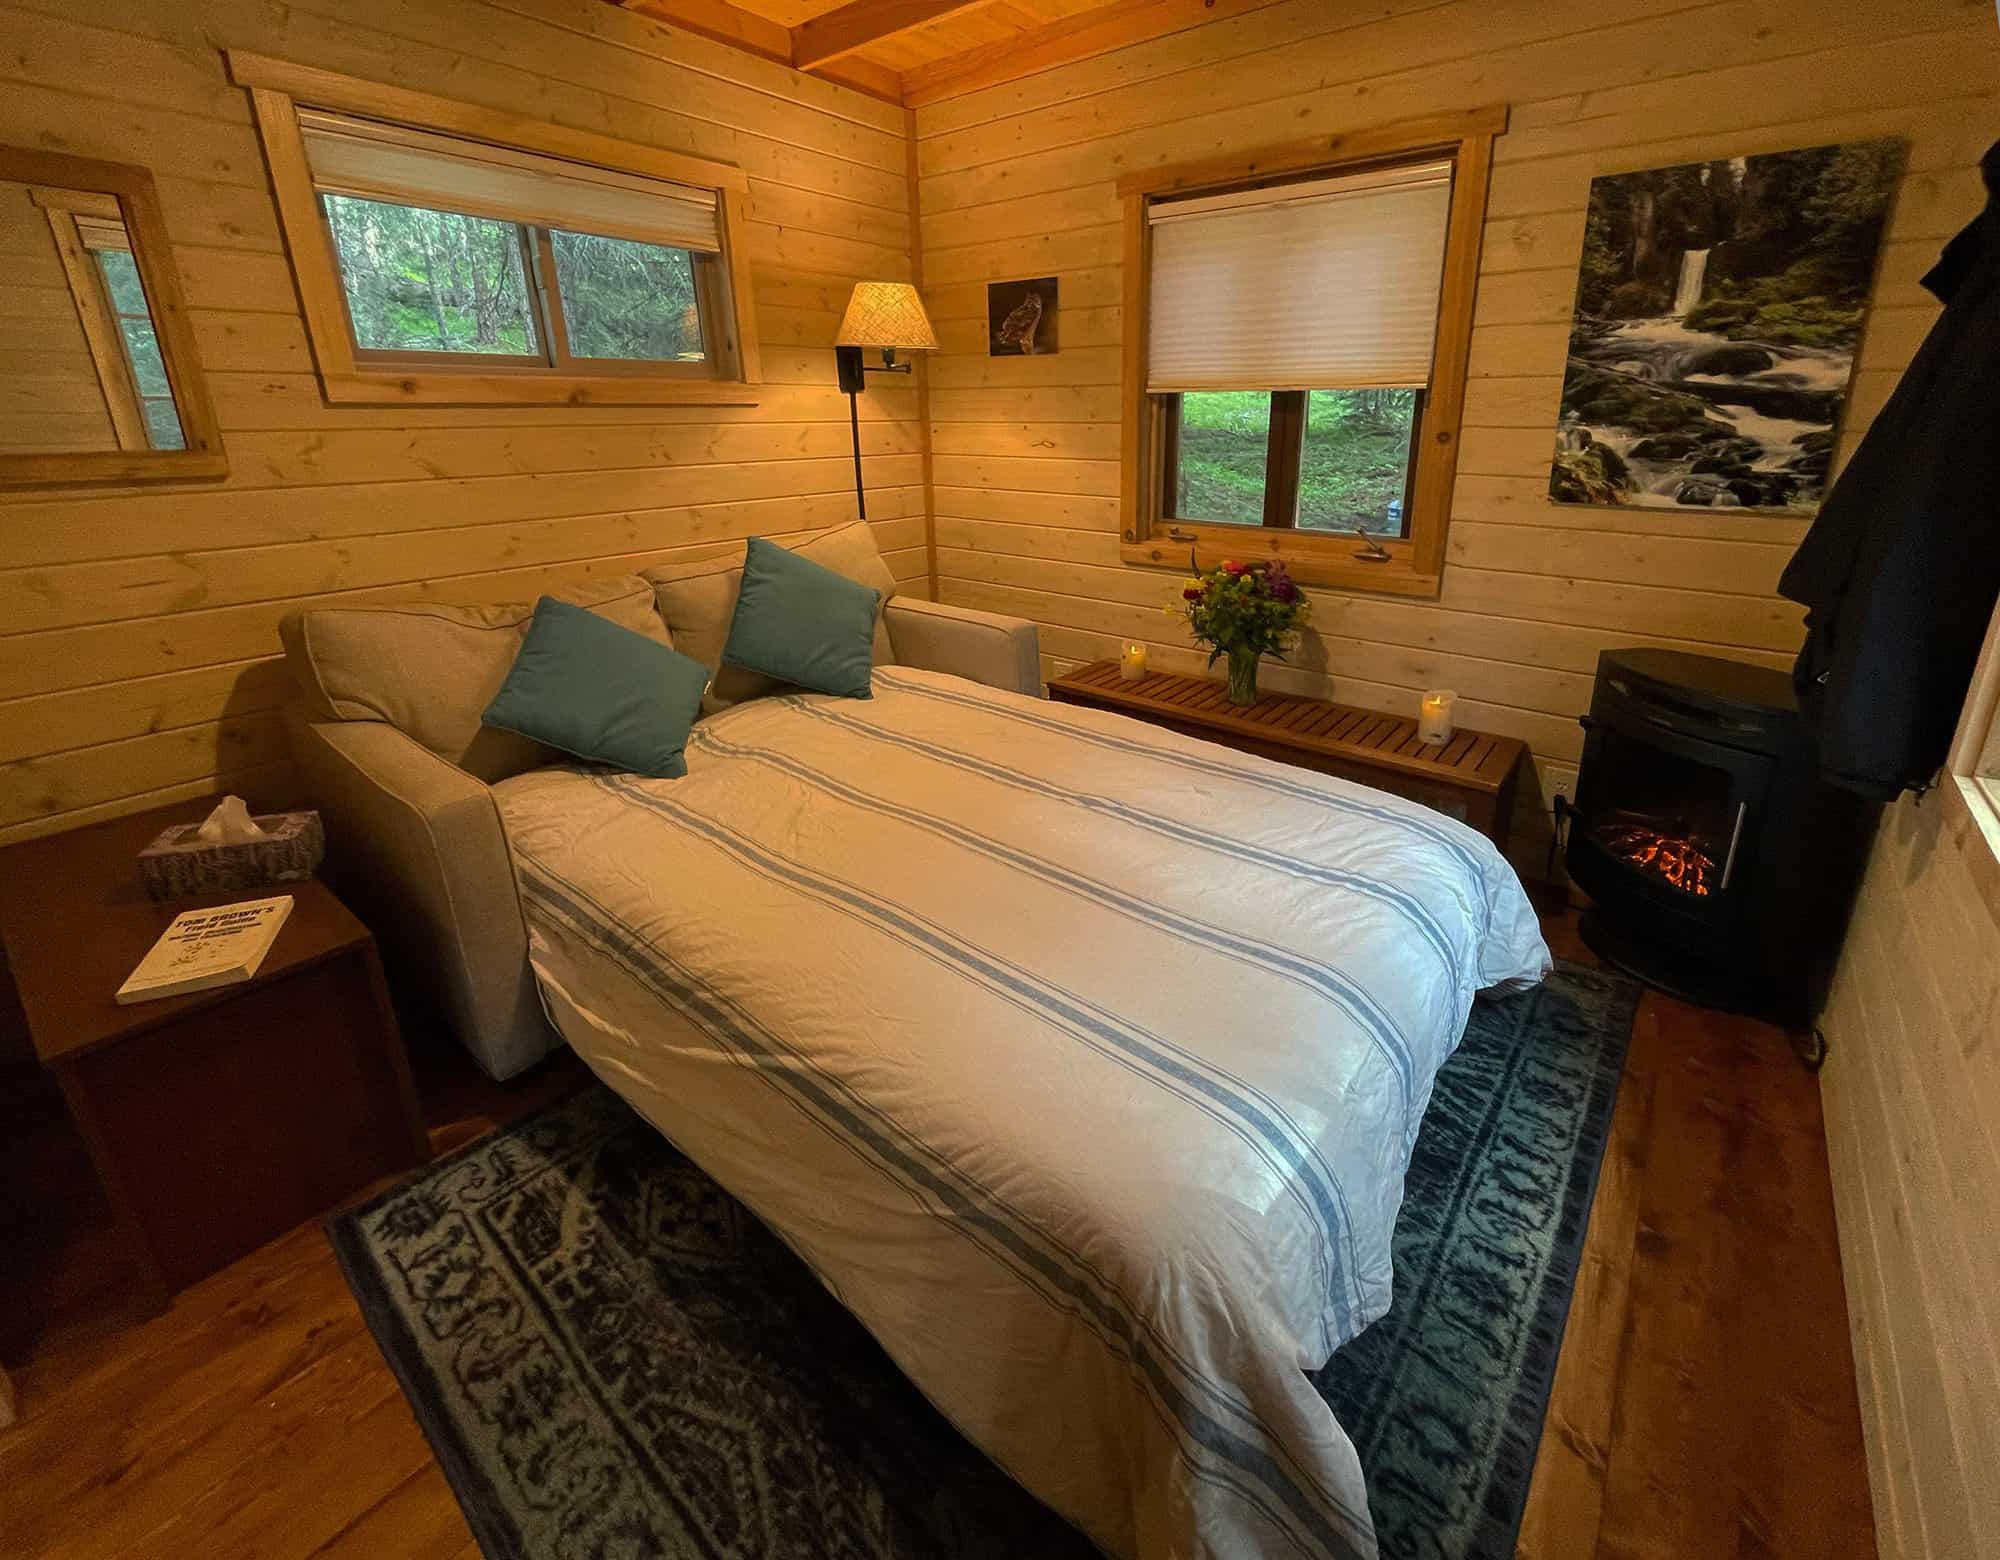
Image via Glamping Hub
The Loft Is Still Up the Attic Stairs
Some things haven’t changed. The original sleeping loft is still reached by folding attic stairs, which tuck away into the ceiling when you’re not using them.
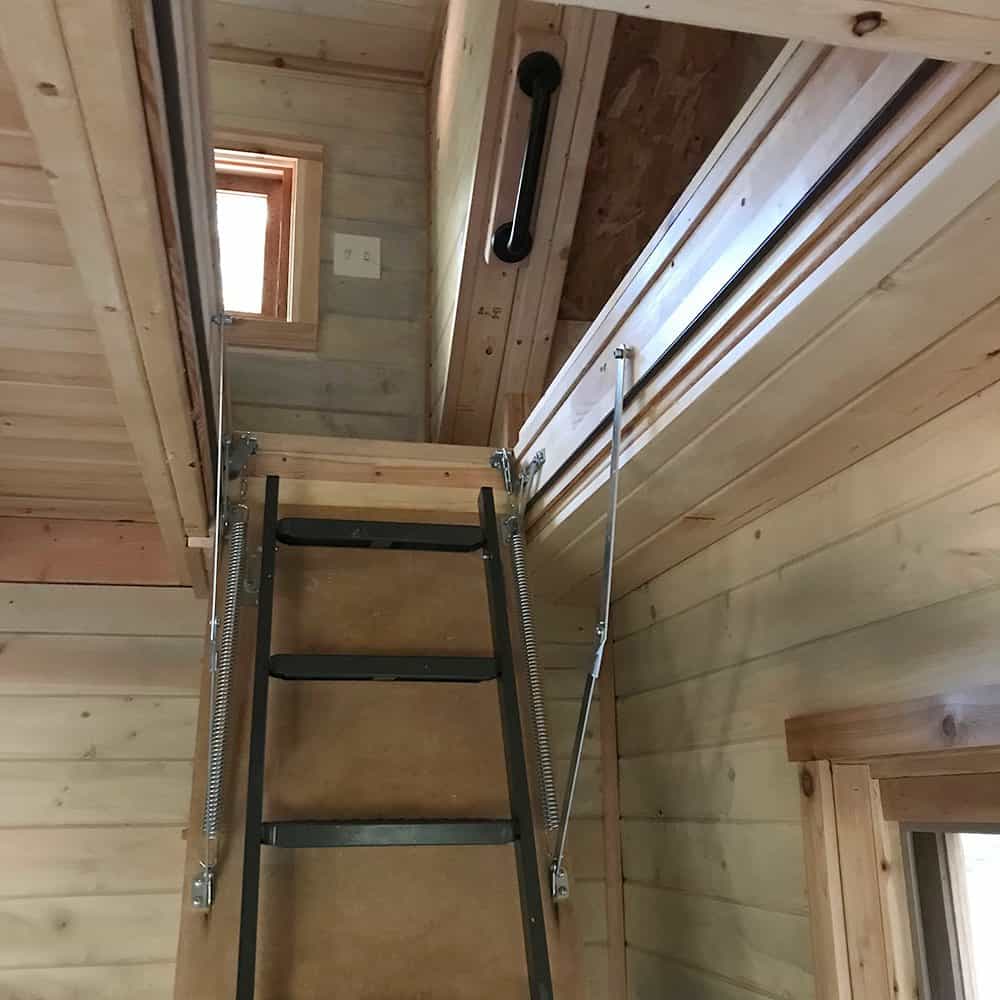
Image via Glamping Hub
Up top, a double bed sits under the steep roof framing with the fan-arched window at one end. It’s still one of the most charming parts of the cabin.
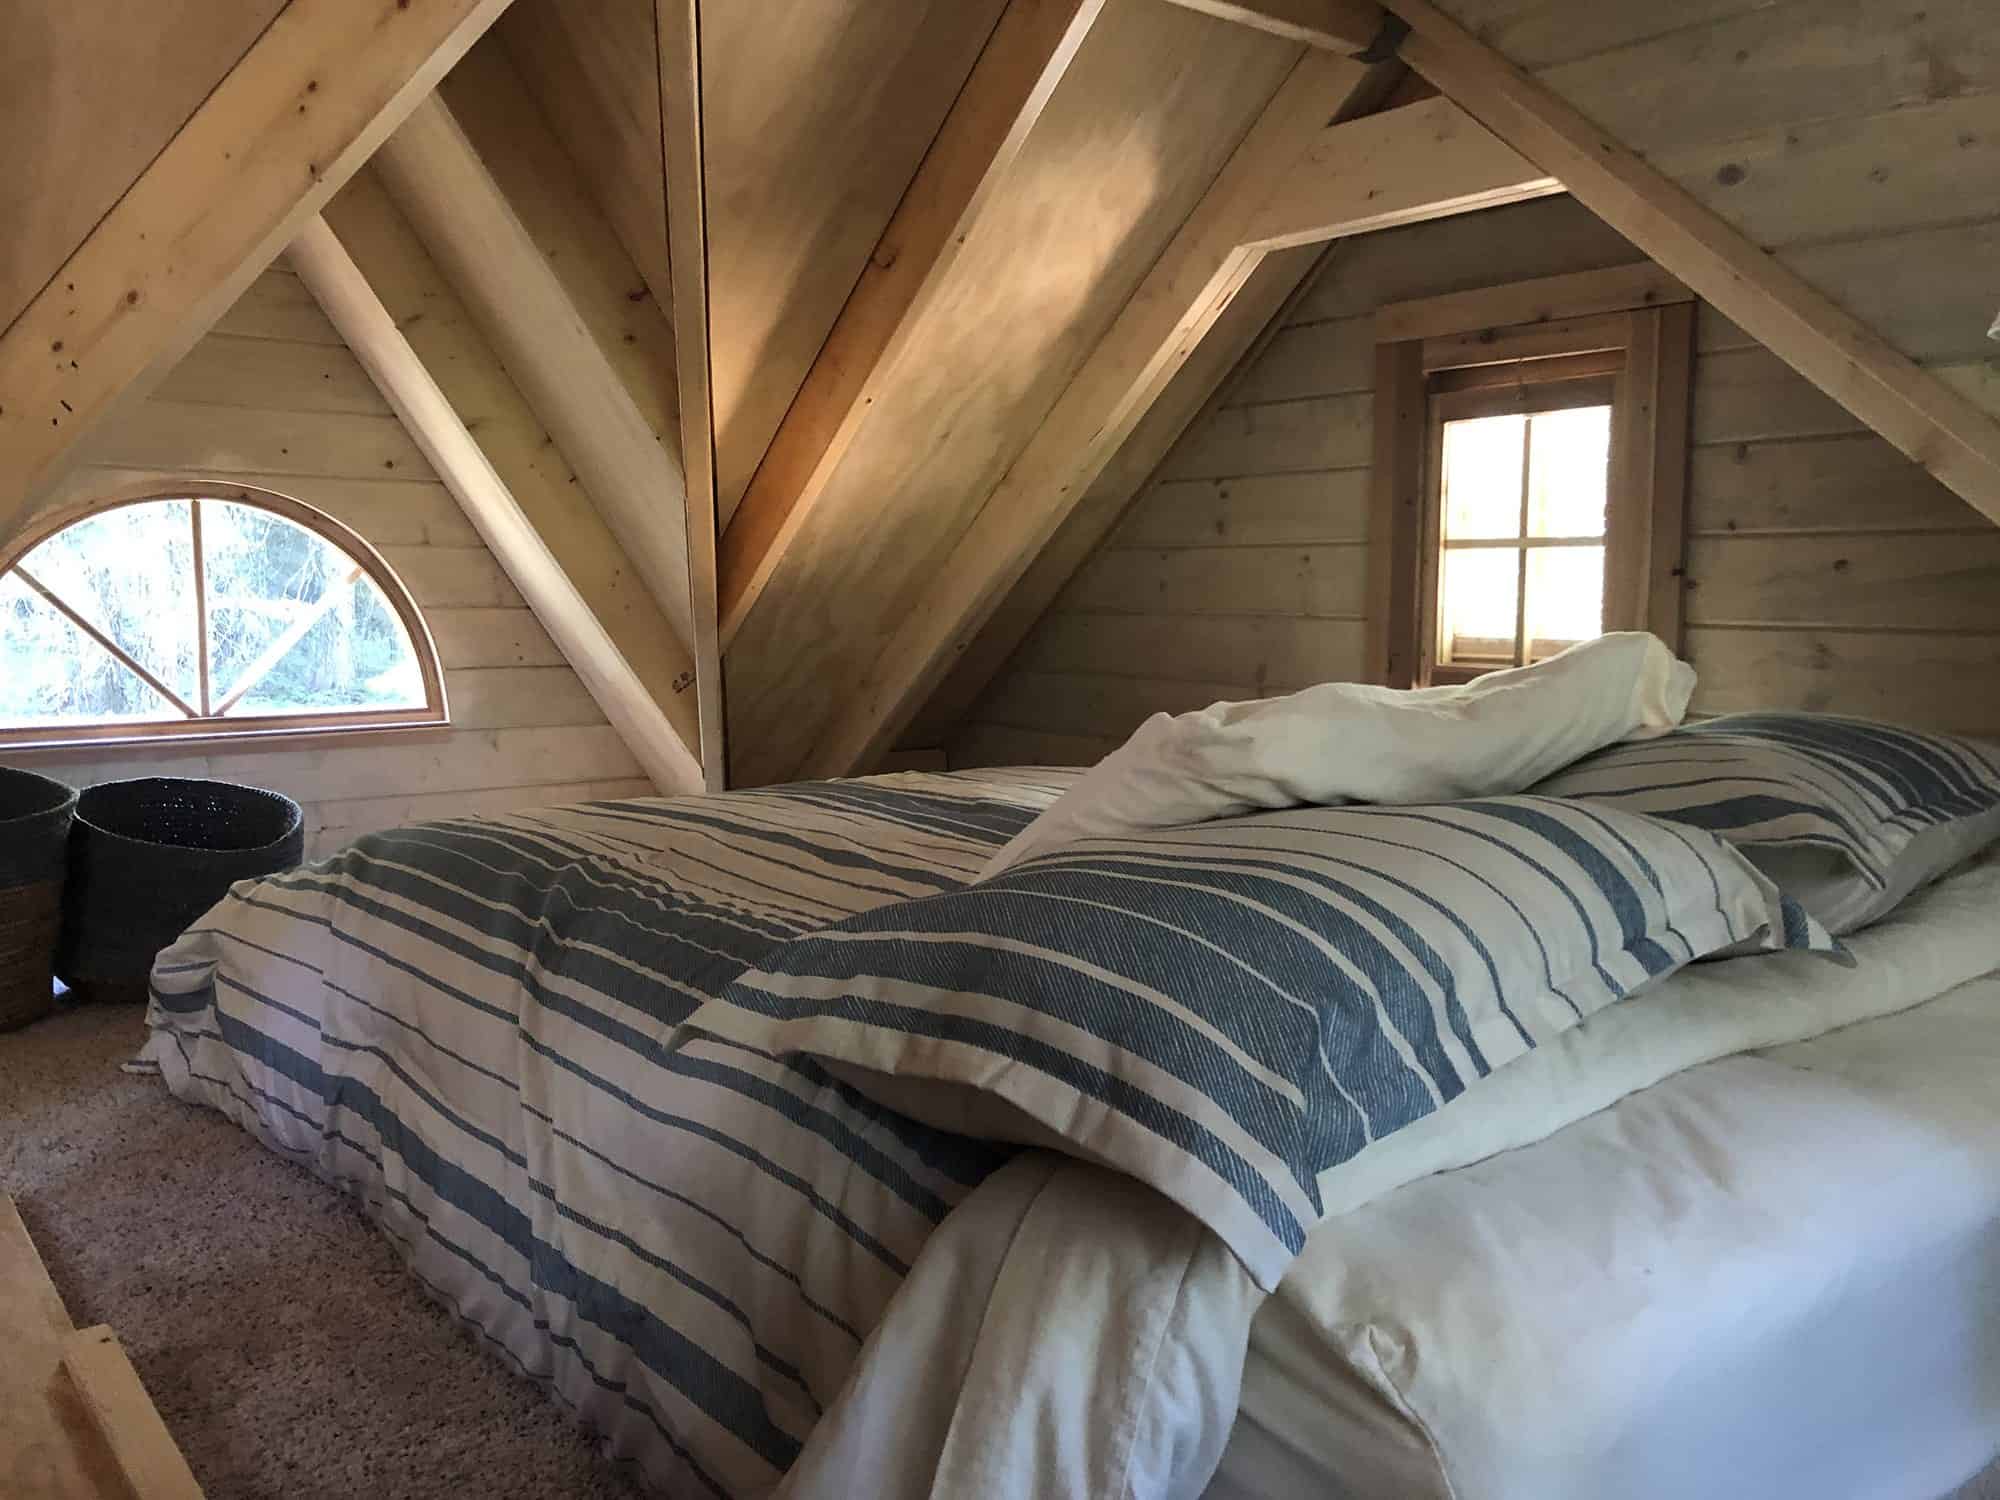
Image via Glamping Hub
The River Rock Shower
The bathroom has a shower lined with river rock, a glass block window, and a vanity, plus a Nature’s Head composting toilet according to the listing.
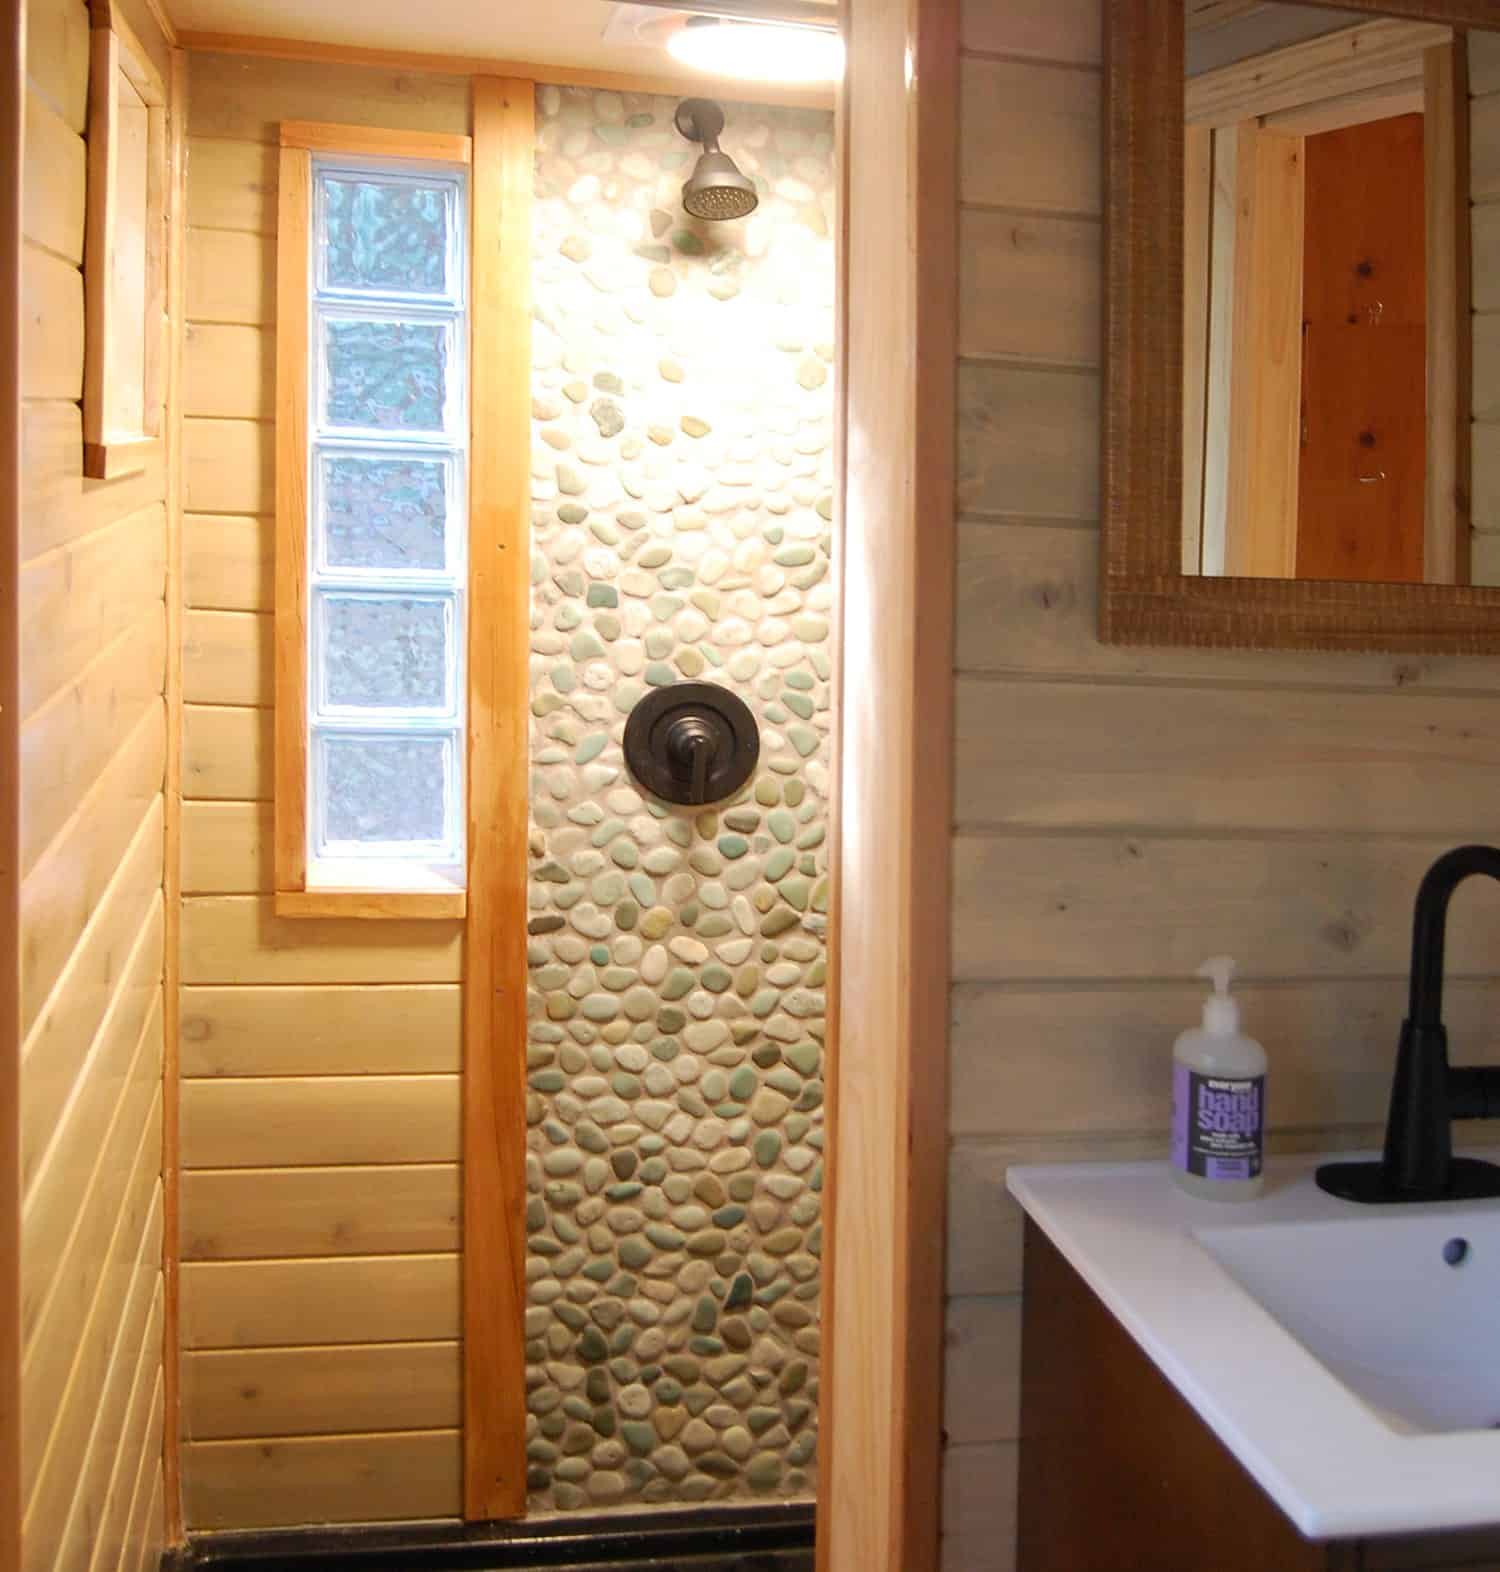
Image via Glamping Hub
Building Out the Land, Too
Adding on doesn’t always mean adding rooms. A lot of the growth here happened outdoors. An outdoor clawfoot tub, open from mid-April through mid-November, sits at the edge of the trees.
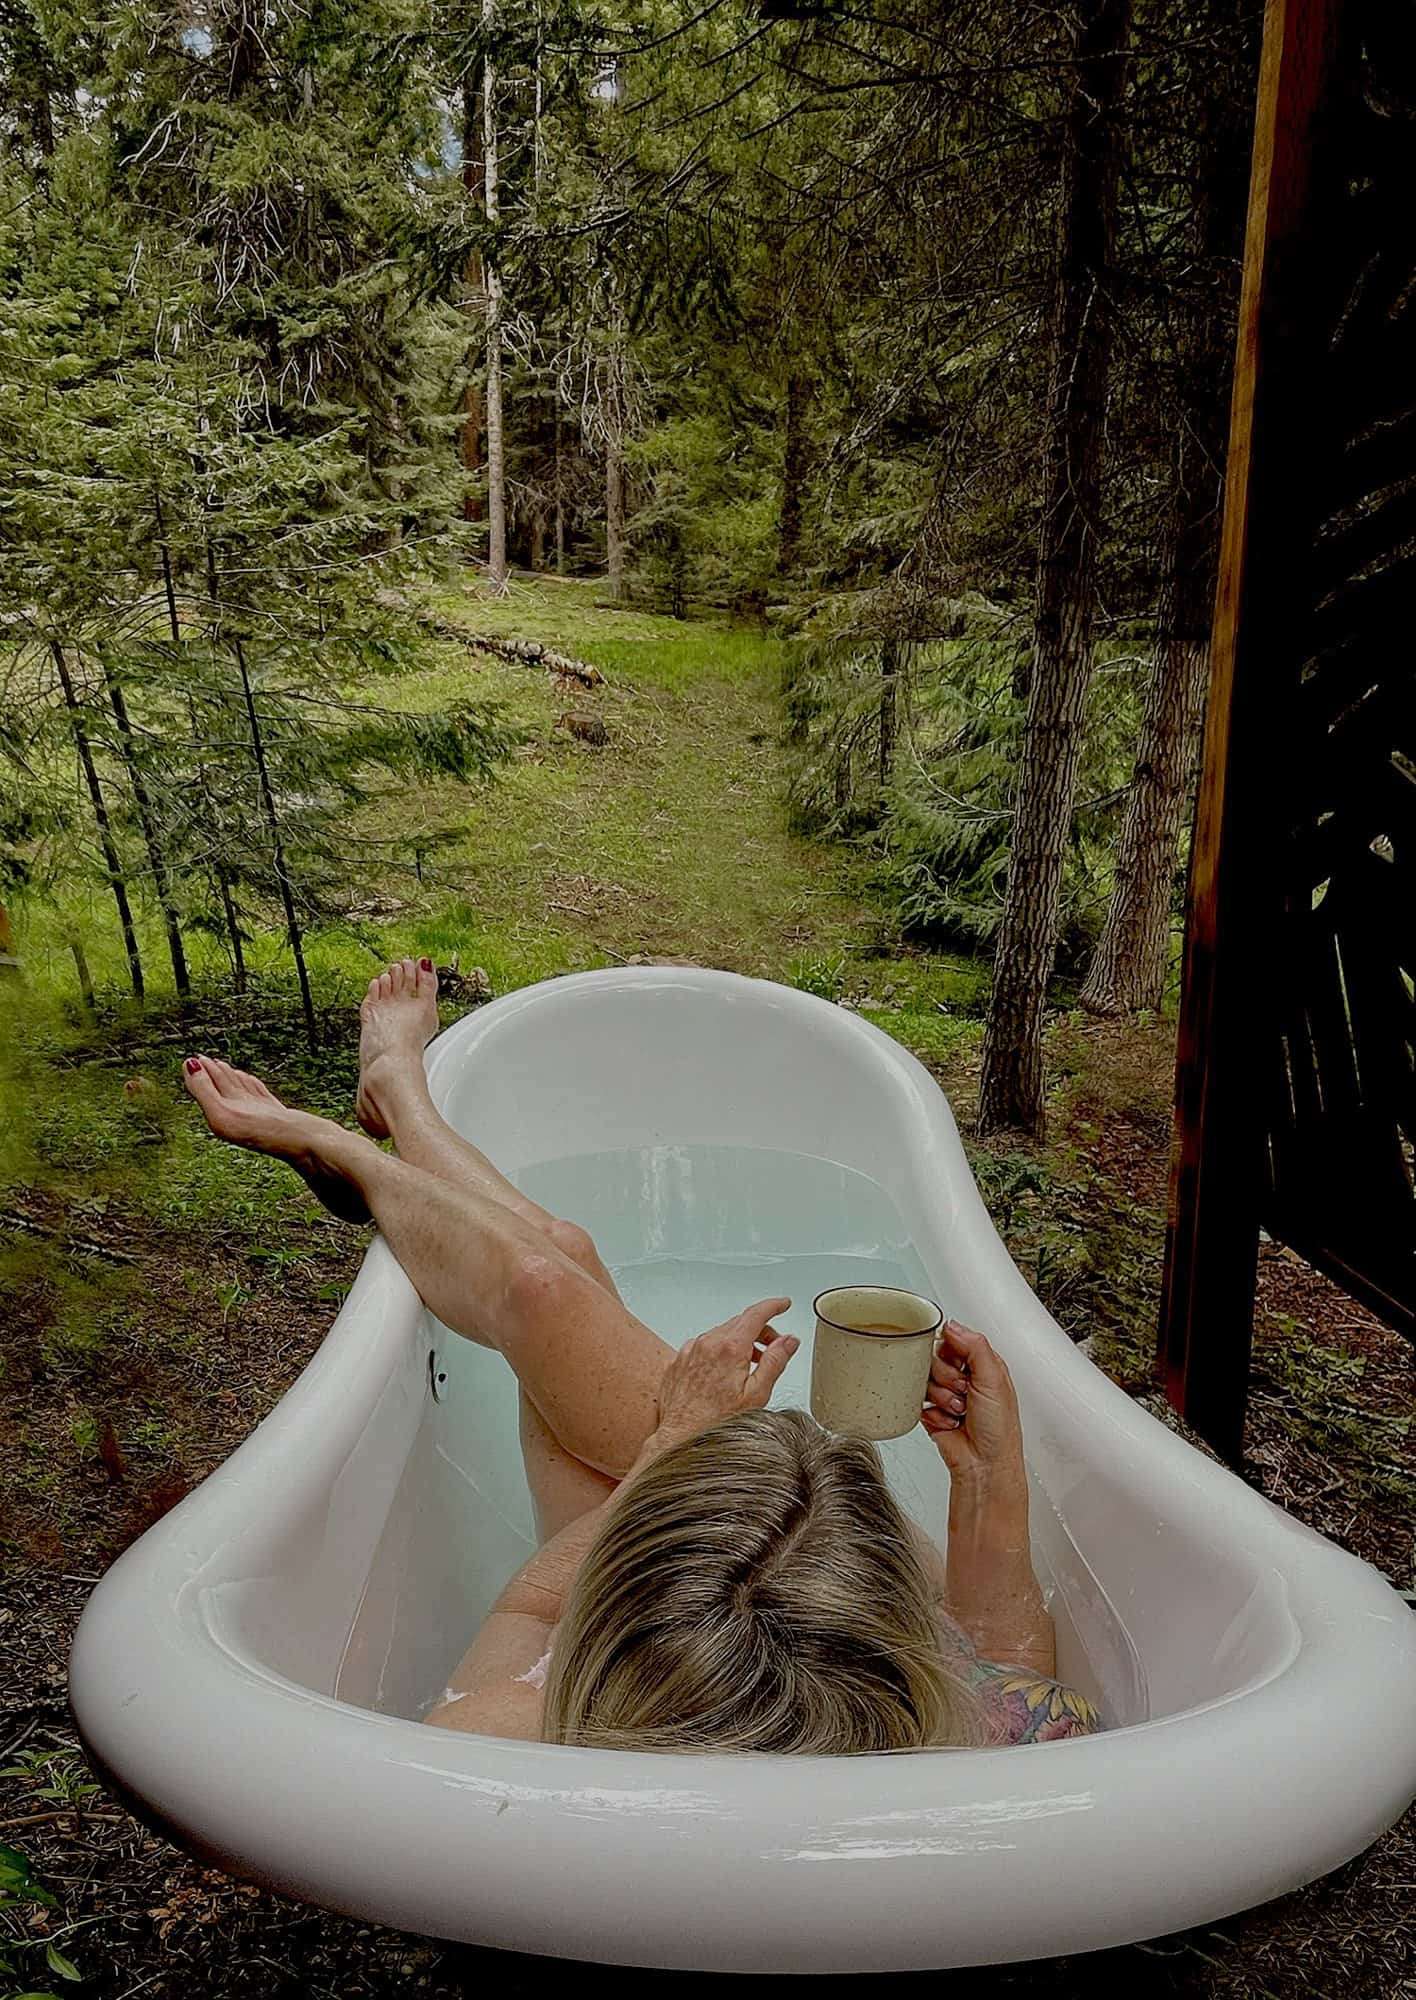
Image via Glamping Hub
A stone fire pit with Adirondack chairs is out front. During fire season, when open fires are restricted, the hosts provide a propane fire instead.
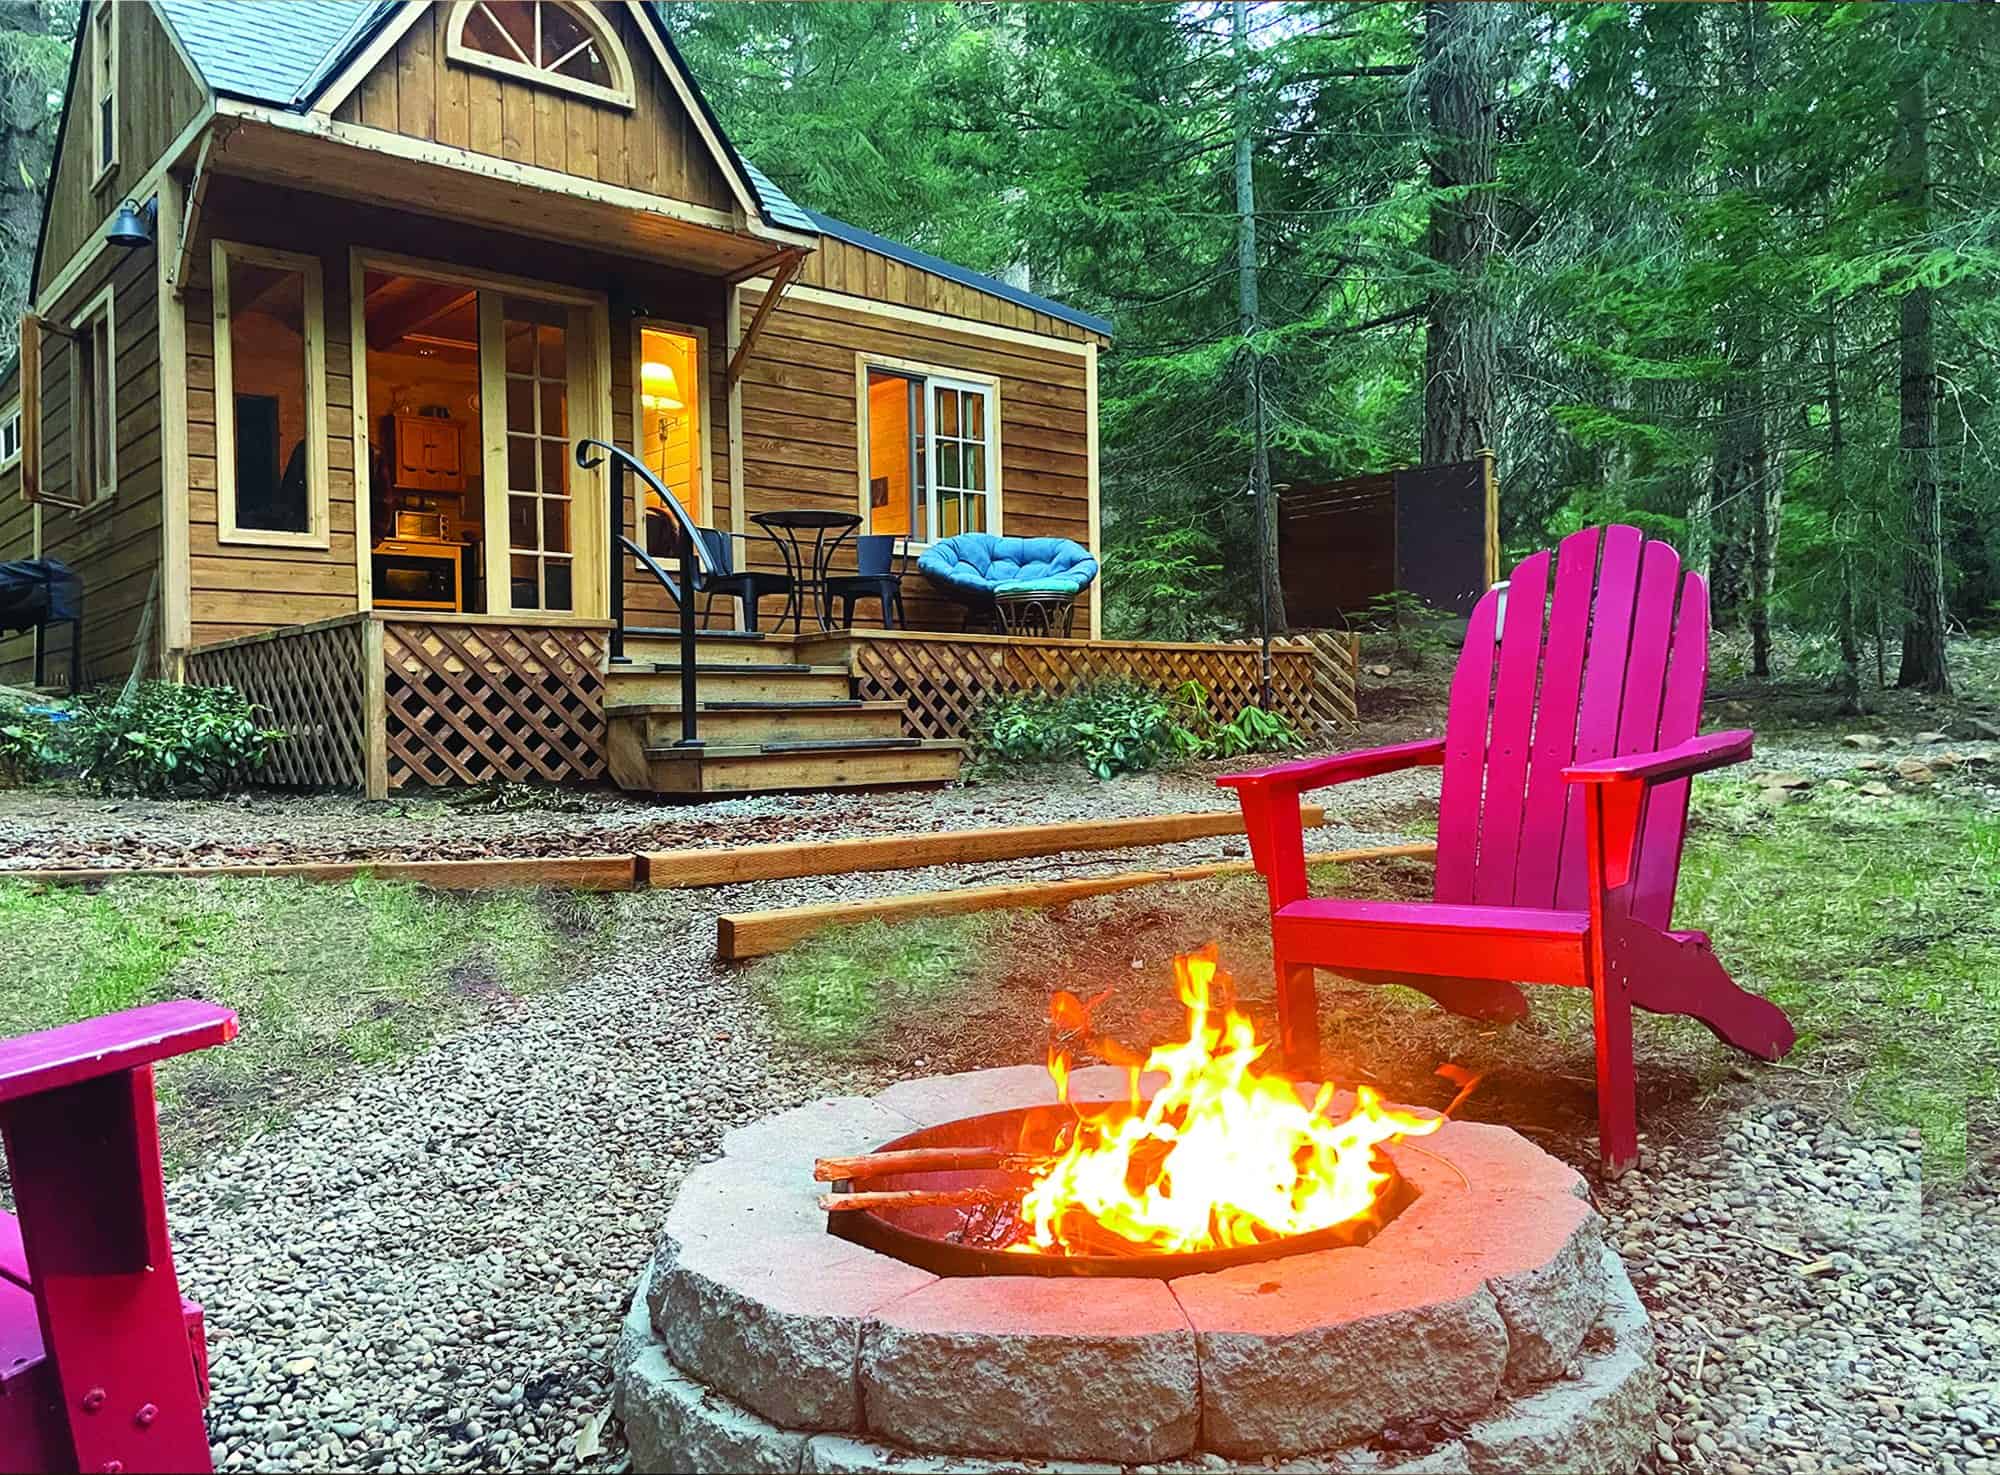
Image via Glamping Hub
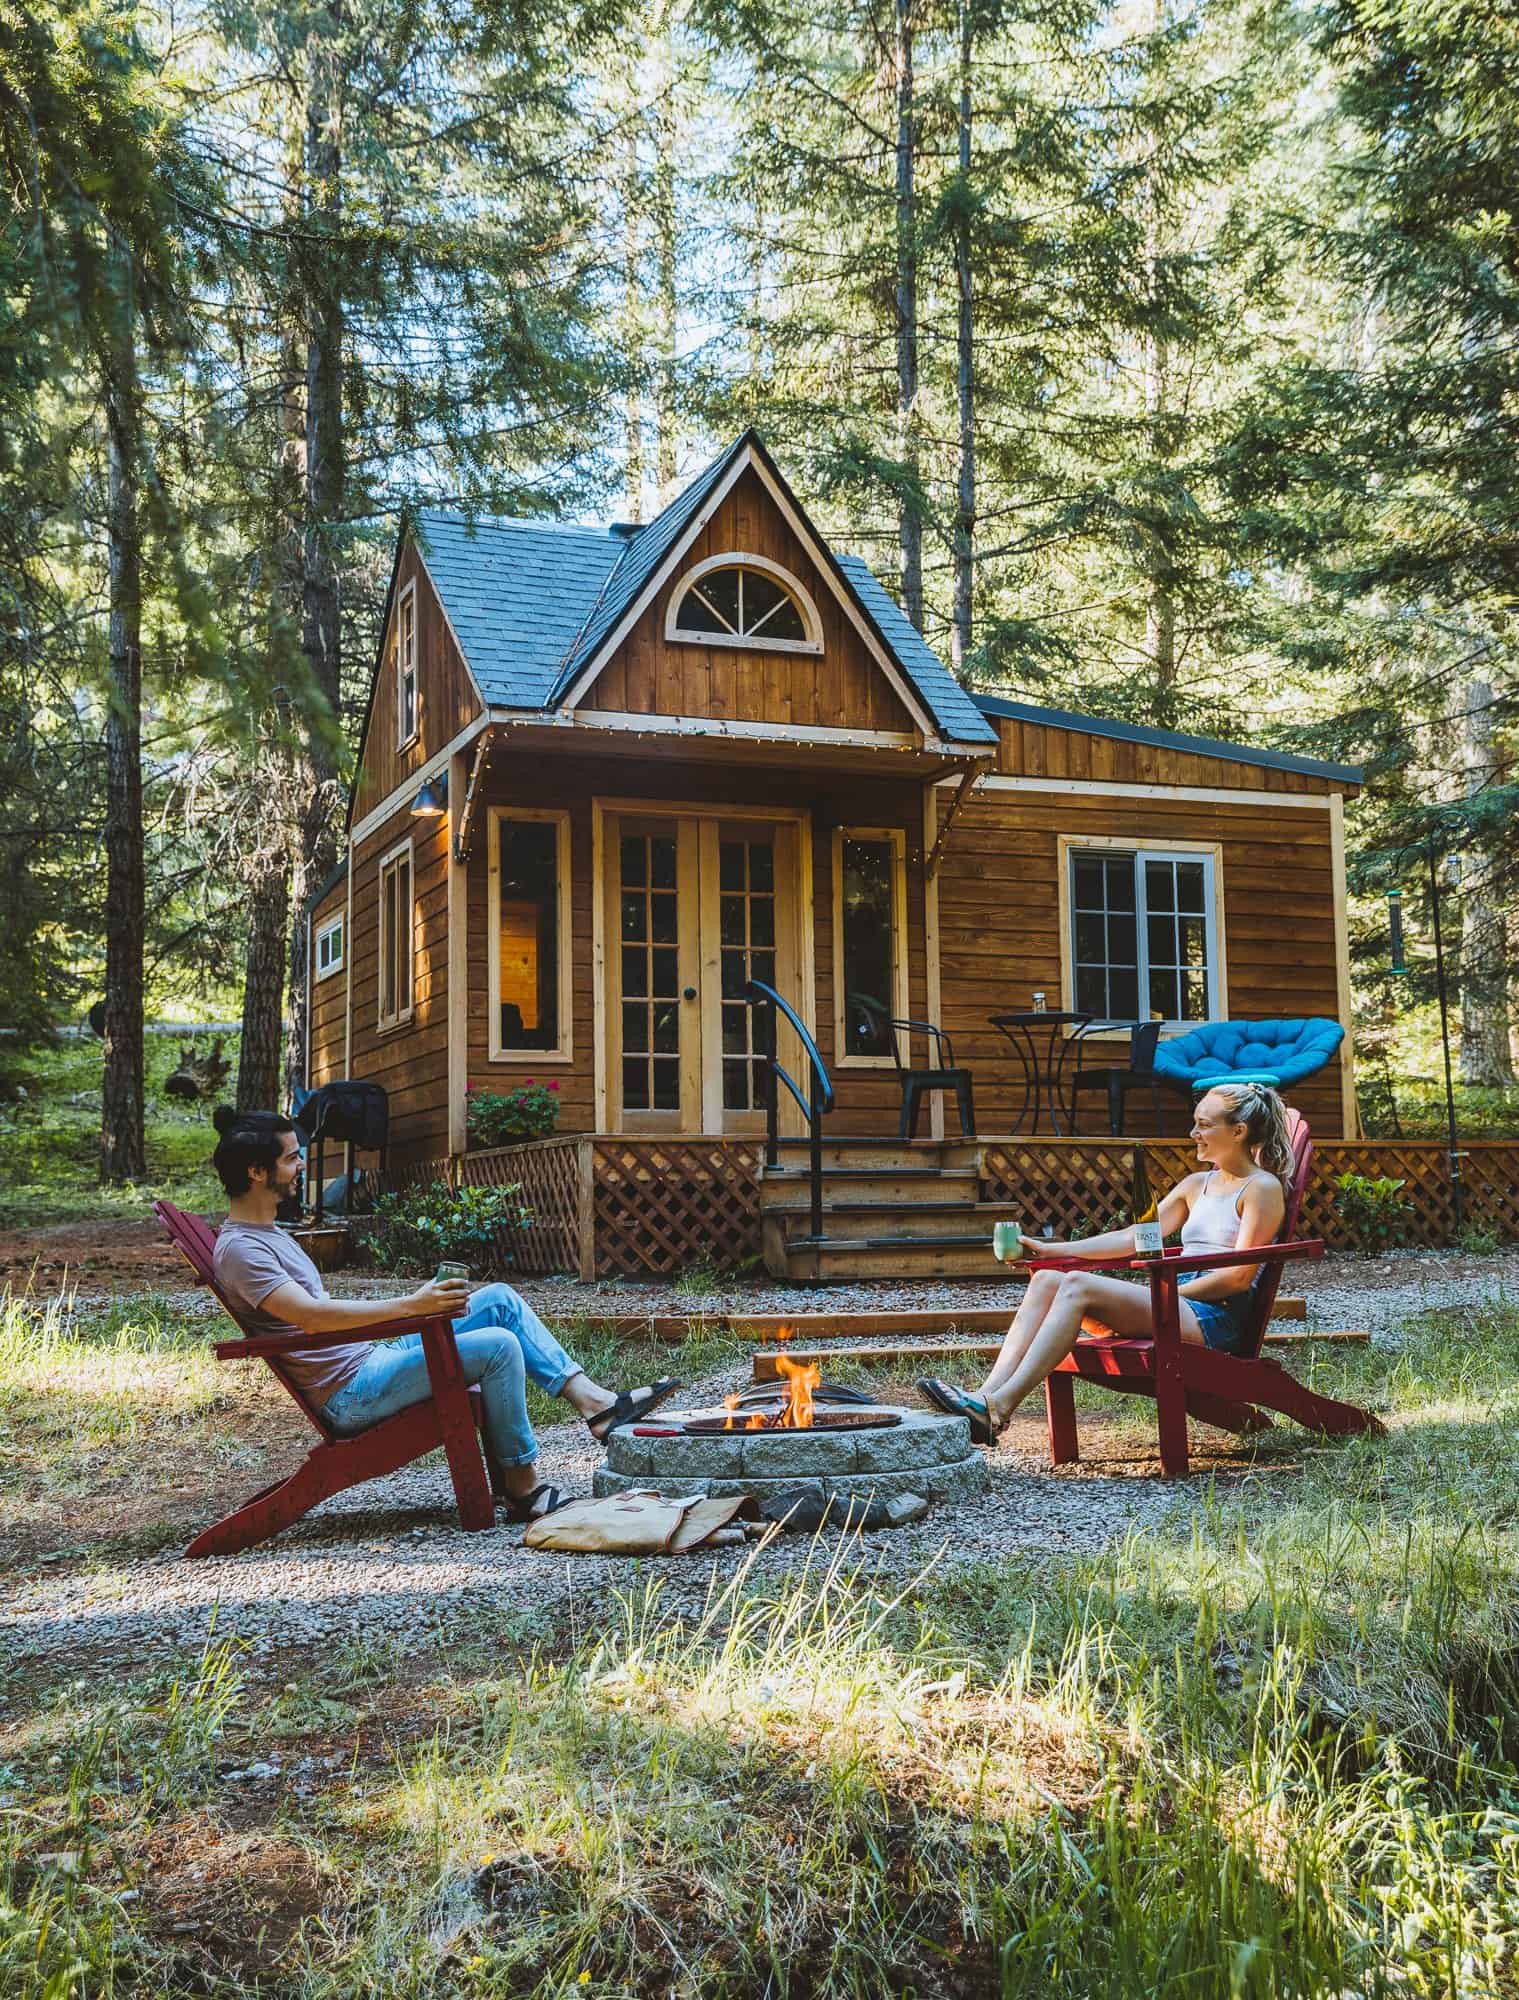
Image via Glamping Hub
The cabin sits on a 5-acre property next to BLM land, with trails, meadows, and nearby lakes to explore.
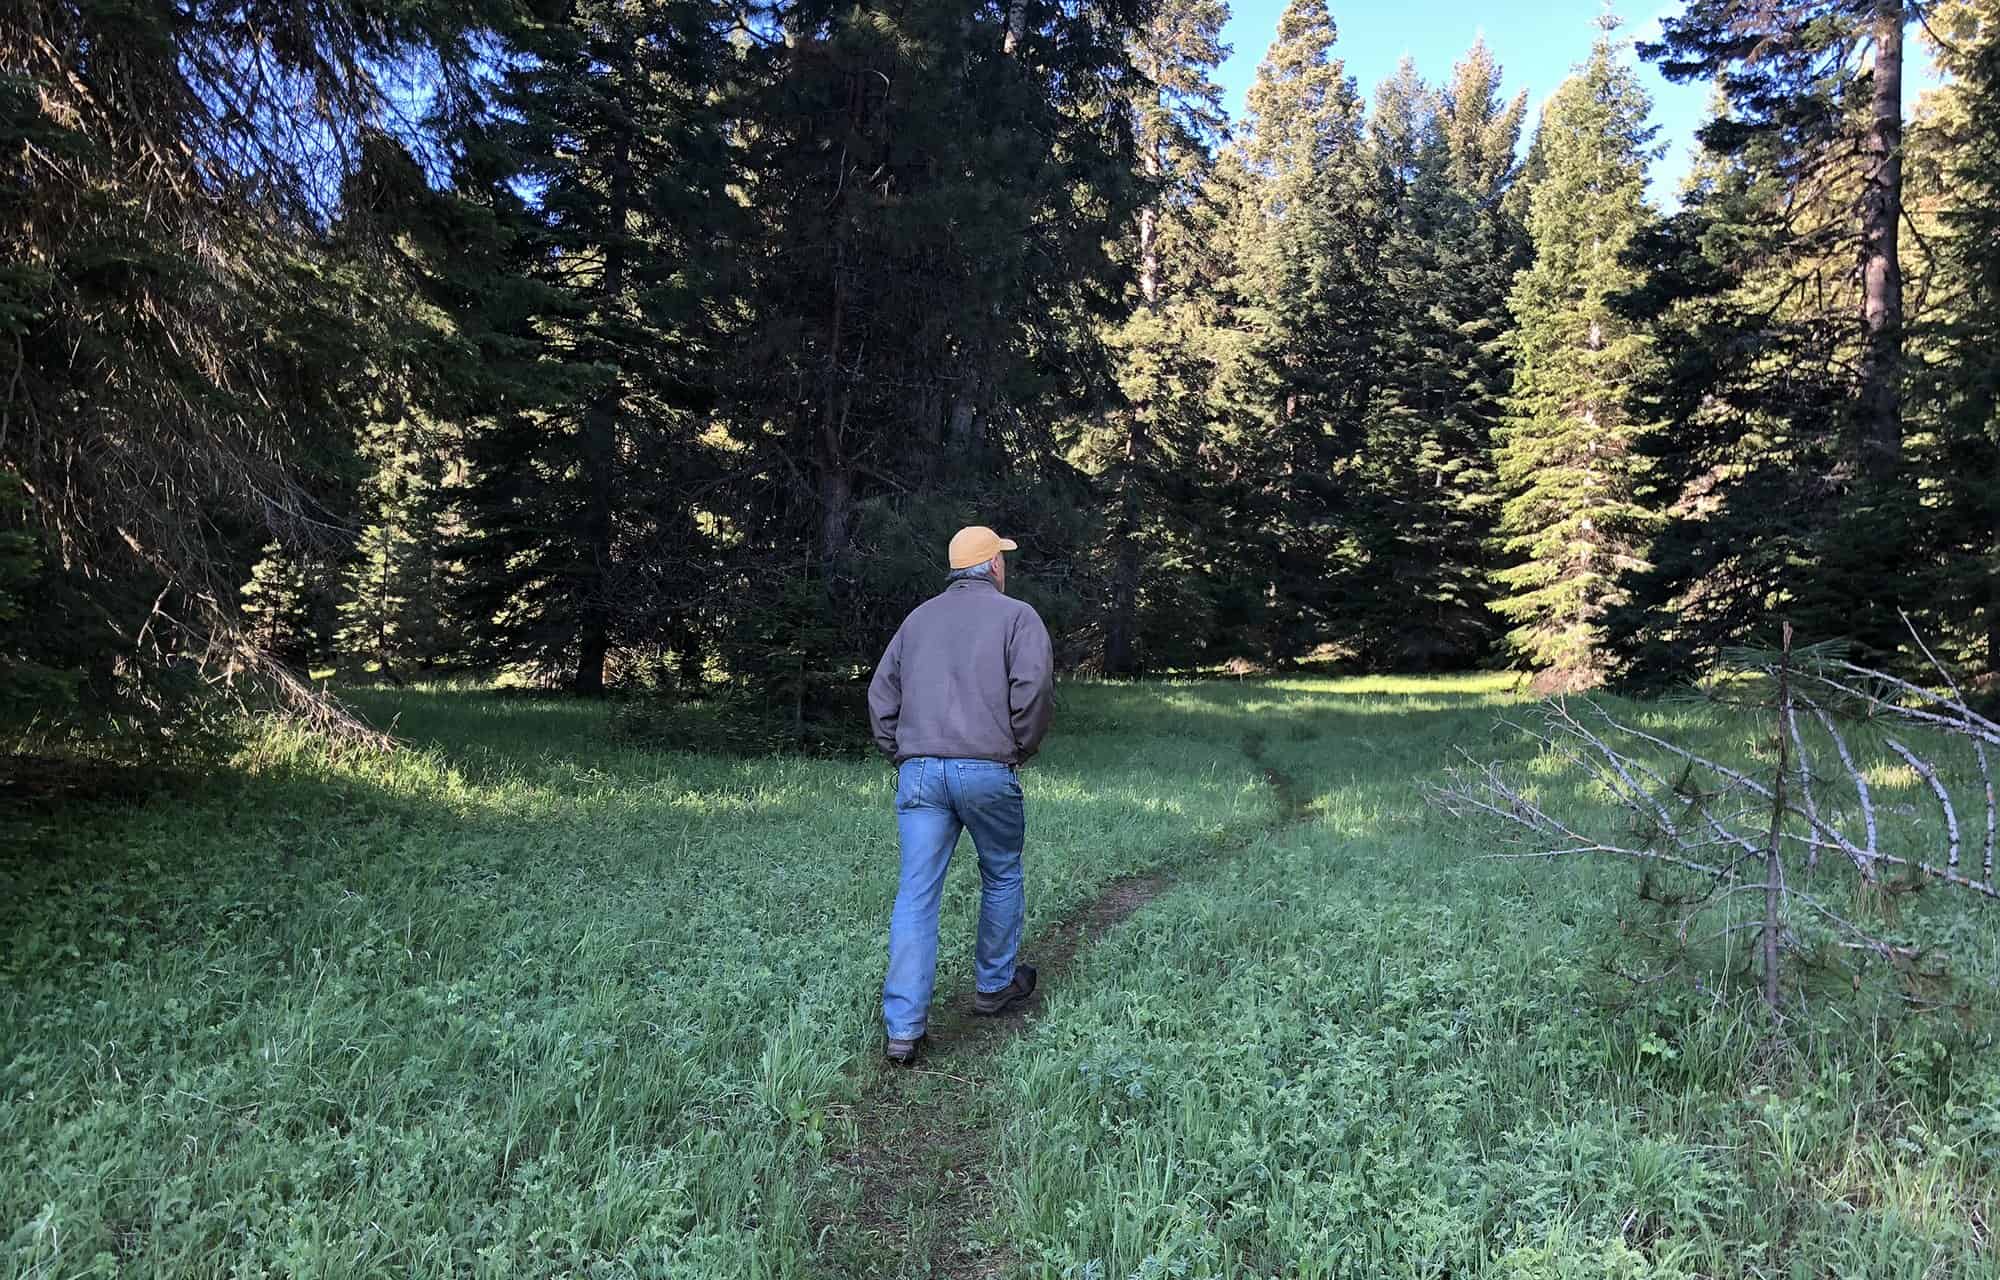
Image via Glamping Hub
Build Small, Add On Later: The Way We Used to Do It
This is a short-term vacation rental, not someone’s full-time home. But the way it grew is exactly how a lot of people used to build. You bought a piece of land, put up a modest house you could actually afford, and moved in. When the family grew, or money came in, or you just needed more room, you added on.
You can still see it in older houses everywhere: the kitchen ell off the back, the enclosed porch that became a bedroom, the shed-roofed lean-to added one summer. In New England, farmers famously kept extending their buildings until the house, kitchen wing, carriage shed, and barn all ran together under one long line of roofs. People even had a saying for it: “big house, little house, back house, barn.”
Somewhere along the way, a lot of us started thinking a house had to be finished, and full size, before you could live in it. That usually means a big mortgage for rooms you may not need for years, if ever. Starting small flips that around.
Why Starting Small Makes Sense If You Have Land
- You can start without a big loan. A small cabin or kit like this one can be built for a fraction of the cost of a full house, often with savings instead of debt.
- You learn the land first. Living in a small structure for a season or two shows you where the sun hits, where the wind comes from, where the water goes, and where you actually spend your time. That’s priceless before you decide where the next room goes.
- You build what you need, not what you guessed. Maybe you thought you needed a guest room, and it turns out you really want a workshop or a screened porch. Adding on later lets you find out.
- It spreads out the work. If you’re building it yourself, a small first phase gets you a roof over your head fast. The bigger project can wait until you have more time and skills.
- The first building never goes to waste. Even if you eventually build a bigger main house, the original cabin becomes a guest house, studio, office, or rental, like this one.
If You Plan to Add On, Plan for It on Day One
The catch is that additions are much easier when the first building was designed with them in mind. A few things worth thinking about before you start:
- Site it with room to grow. Leave space on at least one side for an addition, and check your setbacks so the future wing won’t land too close to a property line.
- Pick a wall for the future doorway. Keep plumbing, the electrical panel, and big windows off the wall where you’ll eventually cut in a door.
- Think about the roofline. A shed-roofed wing off the side, like the one here, is one of the simplest additions to frame and tie in. A steep main roof leaves plenty of room for a lower roof beside it.
- Size your utilities for later. A slightly bigger electrical service, septic system, or well pump now is much cheaper than replacing them after the addition.
- Check permits for every phase. Rules vary a lot by county. Some places allow small accessory structures without a permit but require one for an addition or anything used as a dwelling. Call your local building department before each phase, not after.
Good Resources on Building in Phases
If this idea speaks to you, these are worth a look:
- Summerwood’s 10′ x 10′ Bala Bunkie: the exact kit this cabin started as, with optional loft and drop-down ladder. Summerwood also sells larger cabin kits if you’d rather start a size up.
- How Buildings Learn by Stewart Brand: a classic book about how buildings change and grow after they’re built, and why the ones that adapt well tend to last. A great read for anyone planning to build in stages.
- The New England connected farm: a quick overview of the “big house, little house, back house, barn” tradition of adding on one building at a time.
- Shelter Publications: Lloyd Kahn’s books, including Shelter and Tiny Homes, are packed with owner-built homes, many of which grew over time.
- Oregon Building Codes Division: if you’re building in Oregon, a starting point for state code info. Permits themselves are handled by your county or city building department.
Design Details
- Name: Owl Creek Cabin (featured in 2020 as a woodland writer’s cabin)
- Location: Cascade Mountains above Ashland, Oregon, about 40 minutes from downtown
- Original structure: Summerwood 10′ x 10′ Bala Bunkie kit (100 sq. ft.) with loft
- Additions: Shed-roofed side wing with sitting room, expanded front deck, outdoor clawfoot tub, stone fire pit, landscaping
- Sleeps: 3 (double bed in the loft plus a sofa bed)
- Kitchen: Coffee cart kitchenette with fridge/freezer, coffee maker, kettle, toaster oven, microwave, plus an outdoor gas grill
- Bathroom: River rock shower and composting toilet
- Heat: Electric fireplace
- Land: 5 acres next to BLM land, near Howard Prairie and Hyatt Lakes, Lake of the Woods, and the Pacific Crest Trail
- Rating: 4.6 from 50 reviews on Glamping Hub
What Makes This Cabin Special
- It shows what “start small” really looks like. A 100 square foot kit cabin worked on its own, then grew when it needed to.
- The addition respects the original. The lower side wing leaves the storybook gable, arched window, and French doors as the star.
- The outdoor space grew too. The deck, tub, and fire pit add more living space than the new room does in good weather.
- It’s still simple. Grill cooking, a composting toilet, and basic Wi-Fi keep it a true forest retreat.
What It Costs
- To stay: Owl Creek Cabin starts at $170.50 a night on Glamping Hub (checked October 24, 2026). Rates vary by date.
- To build the starter cabin: Summerwood lists the 10′ x 10′ Bala Bunkie pre-cut kit at $18,995, or $29,065 as shown on Summerwood’s page, with French doors, a fan arch window, a loft, and a drop-down ladder. A 35% fall sale had those at $12,347 and $20,906 when we checked on October 24, 2026. Freight, foundation, assembly, and finishing are extra.
- The 2020 price: one of our readers priced the kit at just over $15,000 with windows and doors back then, so kit prices have moved quite a bit since.
Stay at the Owl Creek Cabin
The cabin is available to book on Glamping Hub. Wi-Fi is fine for basic use but not streaming, the cabin is non-smoking, and it’s best suited to solo travelers, couples, and families with older kids.
- Book or check availability: Owl Creek Cabin on Glamping Hub
Highlights
- The same Ashland, Oregon kit cabin we featured in 2020, now with a side addition
- Started as a 100 sq. ft. Summerwood Bala Bunkie with a loft
- New sitting room with sofa bed and electric fireplace
- Bigger deck, outdoor clawfoot tub, and stone fire pit
- A real-world case for building small on your land and adding on over time
Related Stories
- Our 2020 Feature: Private and Romantic Woodland Cabin Retreat in Oregon Forest
- Tiny Home Kits (No Wheels!) by Summerwood Products
- She Bought 25 Acres at 21. After the Bushfire, She Built This Cabin From What Survived
- She Built a Tiny House at 19: Pink Kitchen, Back Porch, and No Rent
Would you start small on your land and add on later, or build the whole house at once? Let us know in the comments!
If you enjoyed this you’ll LOVE our Free Daily Tiny House Newsletter with even more!
You can also join our Small House Newsletter!
Also, try our Tiny Houses For Sale Newsletter! Thank you!
More Like This: Tiny Cabins | Vacations | Airbnb & Rentals
Disclosure: This post may contain affiliate links. If you purchase through one of our links, we may earn a commission at no additional cost to you.


Alex
Latest posts by Alex (see all)
- A Northwoods Cabin-Style Tiny House Shell with a Wood Stove in Michigan’s Upper Peninsula - November 19, 2026
- Owl Creek Cabin Grew Up: The Case for Building Small and Adding On Later - November 19, 2026
- Sleep in a Converted Cedar Greenhouse With a Loft Bed Under the Glass Roof - November 19, 2026




Join the Conversation
No comments yet. Be the first to join the conversation.