
Disclosure: This post may contain affiliate links. If you purchase through one of our links, we may earn a commission at no additional cost to you.
Guest Post – Garden Reading-Writing Room (Writing Shed)
My wife, finding it hard to write with me under foot, asked if I would built her a place where she could write without distraction. Given our small yard I knew that whatever I built would, by necessity, also need to be small.
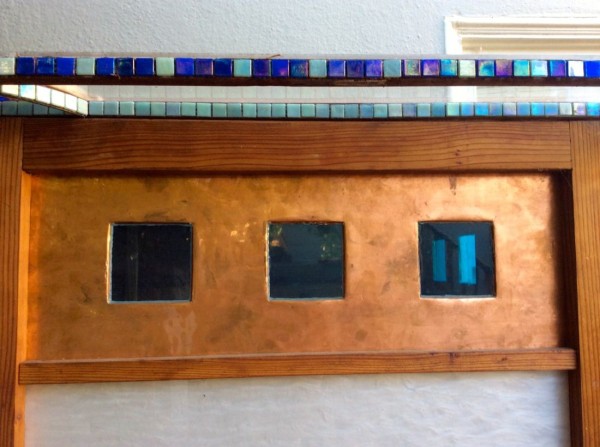
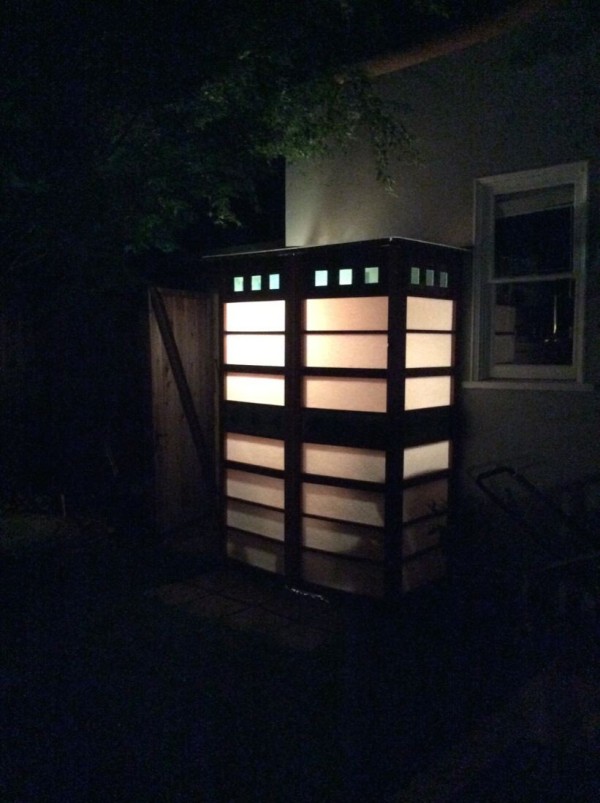
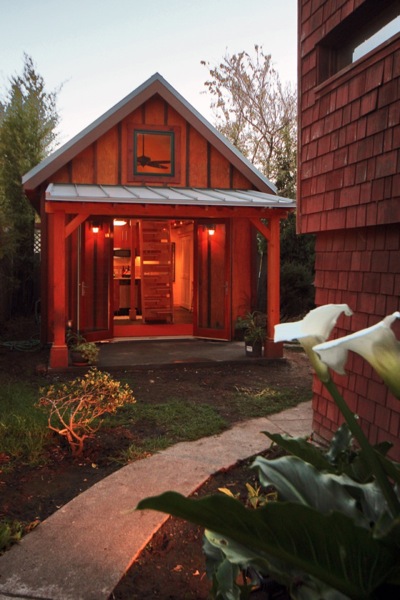
I poured a concrete pad (26” x 52”), milled rough redwood 4×4’s and 1″ x 8″ fence boards, laminated copper onto concrete board and pieced together a room, of sorts, that serves the purpose and adds to the yard. I included an outlet and a light which makes the pearl plexiglass glow at night like a large Japanese lantern. In the day time the doors open up to the garden and the sun shines through a clear plexiglass ceiling strewn with marbles.
Awesome Husband Builds Micro Writing Shed for his Wife
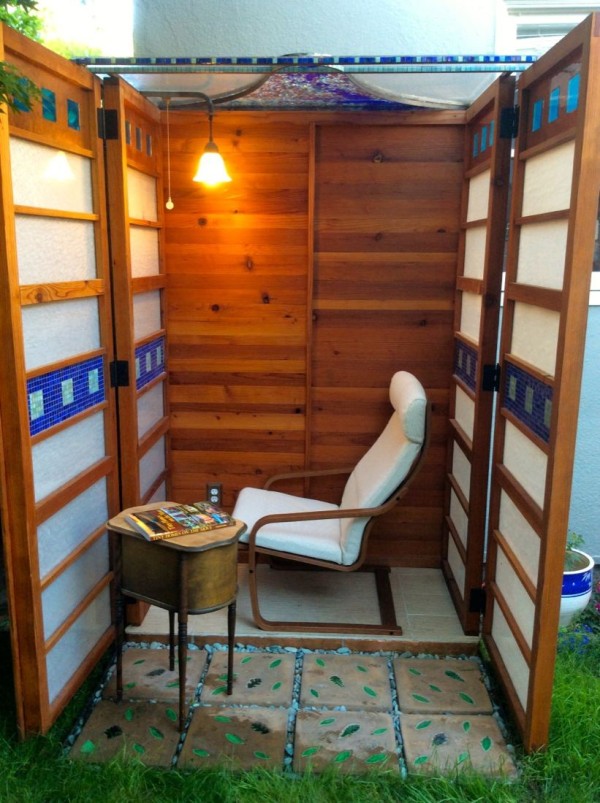

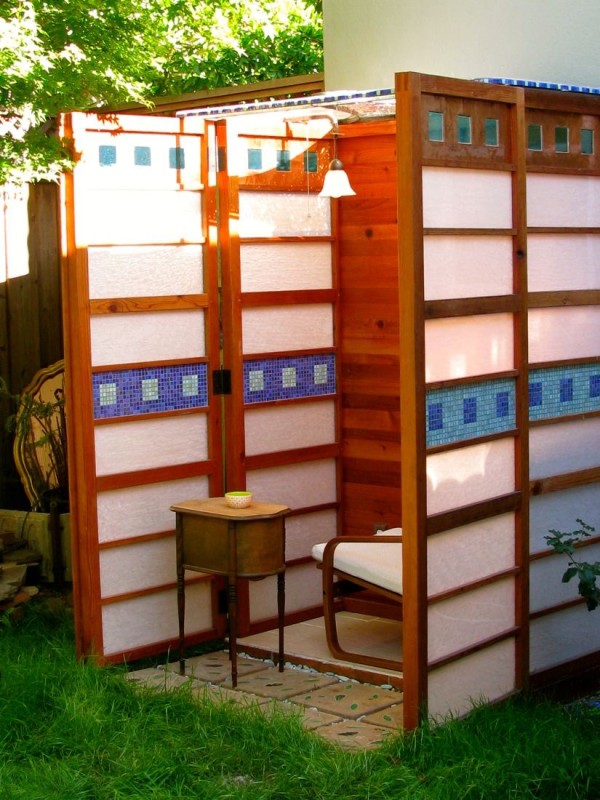
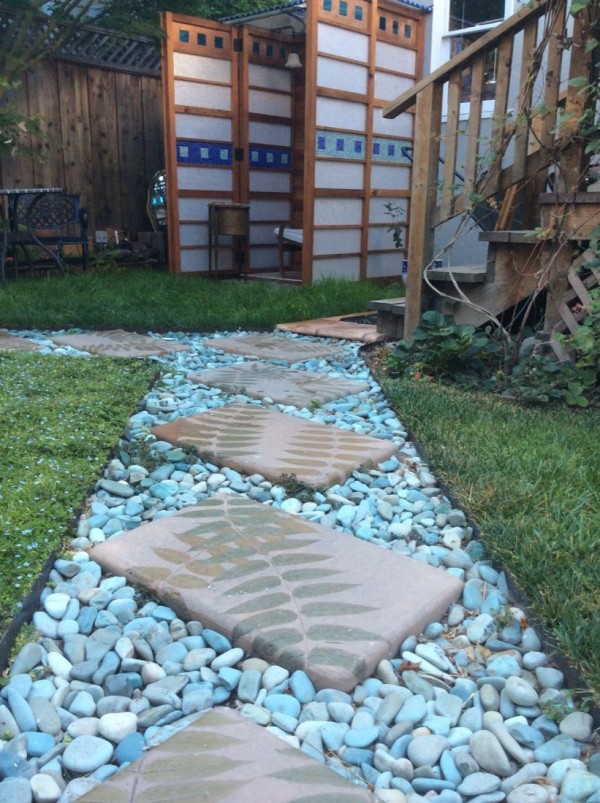
As an afterthought I added eight concrete pavers that I embedded with ceramic leaves of varying shades of green. The pavers leading to the garden closet are also concrete but here I made impressions with real leaves to simulate intertwining vines and then hand stained each leaf.
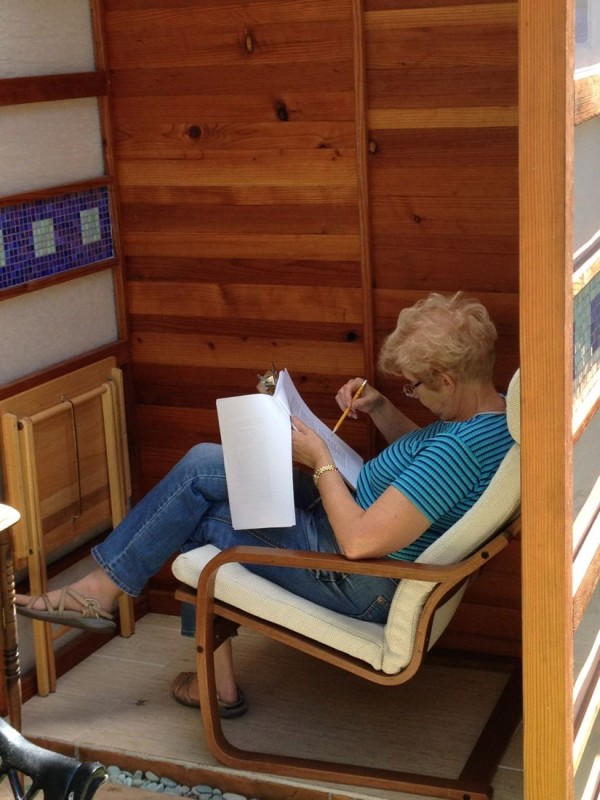


We have also discovered an unintended use for the room. When my grandkids are naughty the garden closet becomes the “time-out” room. (The doors are held closed with two small magnets.)
Man Creates Backyard Zen Shed for his Wife to Write and Read In
Images: Tom Hall
Cost to Build, Time to Build & Materials Used
I habitually don’t keep track of what my projects cost as I suppose ignorance is bliss. When there is a material decision to be made I will generally opt for the material that will add to the overall effect regardless of cost. For example, I went back and forth between the more costly opalescent plexiglass and plain white deciding on the opalescent.
The redwood was costly but by milling it myself I was able to use the (relatively) cheaper Home Depot rough 4×4’s and 1×8’s and I was pleased with the results. I finished the redwood with a mixture of 1/3 mineral spirits, 1/3 exterior semi-gloss polyurethane, and 1/3 boiled linseed oil (a formula shared with me by my son Benjamin an architect/builder in Phoenix, AZ).
The tile used on the floor was left over from a bathroom remodel and I saved by doing the electrical myself (outlet and a light). I suppose my post hoc estimate falls somewhere between $700-$800.
In terms of time involved. Let’s see, I poured the pad and then spent the next four weekends on the driveway milling lumber and making 80 mortise and tendon joints. I used a hollow core door as a jig and assembled the walls and doors on the driveway first them reassembled on the pad.
Once in place I did the electrical and added the 3/8″ clear plexiglass roof topped with marbles. Finally, I finished it off with the tile floor. If I had been working on it daily I suppose it would have taken a couple of weeks at most but from start to finish I spent around six weeks on it.
Thanks for sharing, Tom!
If you enjoyed this micro writing shed story you’ll LOVE our free daily tiny house newsletter with even more!
Disclosure: This post may contain affiliate links. If you purchase through one of our links, we may earn a commission at no additional cost to you.


Alex
Latest posts by Alex (see all)
- A Hotel Designer’s 484 Sq Ft Milan Apartment with a Rotating Room Divider - October 9, 2026
- Hermosa Orchards Village: A Durango Tiny Home Community with Its Own Fruit Orchard - October 9, 2026
- The Sanctuary Minnesota: A Tiny House Village on 80 Acres of Woods - October 9, 2026














Ingenious! Absolutely beautiful and creative! Love the pavers!
This is simply wonderful! If bugs are an issue you can always add a bug net curtain to the opening. I’ve used old lacy net curtains from the thrift shop hung on a tension rod as a bug barrier when building a proper screen door was taking too long. The polyester ones last for ages. The more persistent critters got in eventually but if you tuck in the edges it can keep a lot of them out.
This is so cute! What a nice husband.
The sweetest!