
Disclosure: This post may contain affiliate links. If you purchase through one of our links, we may earn a commission at no additional cost to you.
This off grid tiny cabins retirement story is a guest post by Michael Scheer – share your tiny house story here too!
My name is Michael and about 5 years ago I wanted an off-grid place for vacation and retirement. Like many others, I am tired of bills, bills, bills and knew I would never have enough money to retire on unless I became debt-free and my home was paid off.
A couple of years passed and as things happened I had a friend who went through a divorce (I recently moved out of my ex-girlfriends home 8 months prior) and he needed help monetarily in order to buy a home and asked me to move in. The move cut my rent in half and enabled me along with my bonus check to purchase some land I found in northern AZ at about 6500 ft elevation. Summers are mild with highs in the low 90’s high 80’s and winters are in the 40’s and 50’s with light snow. I picked up 6 acres for less than $4k.
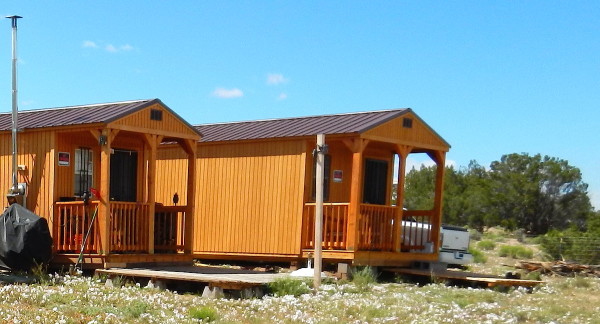
He Built Two Off Grid Tiny Cabins for his Retirement
Images © Michael Scheer
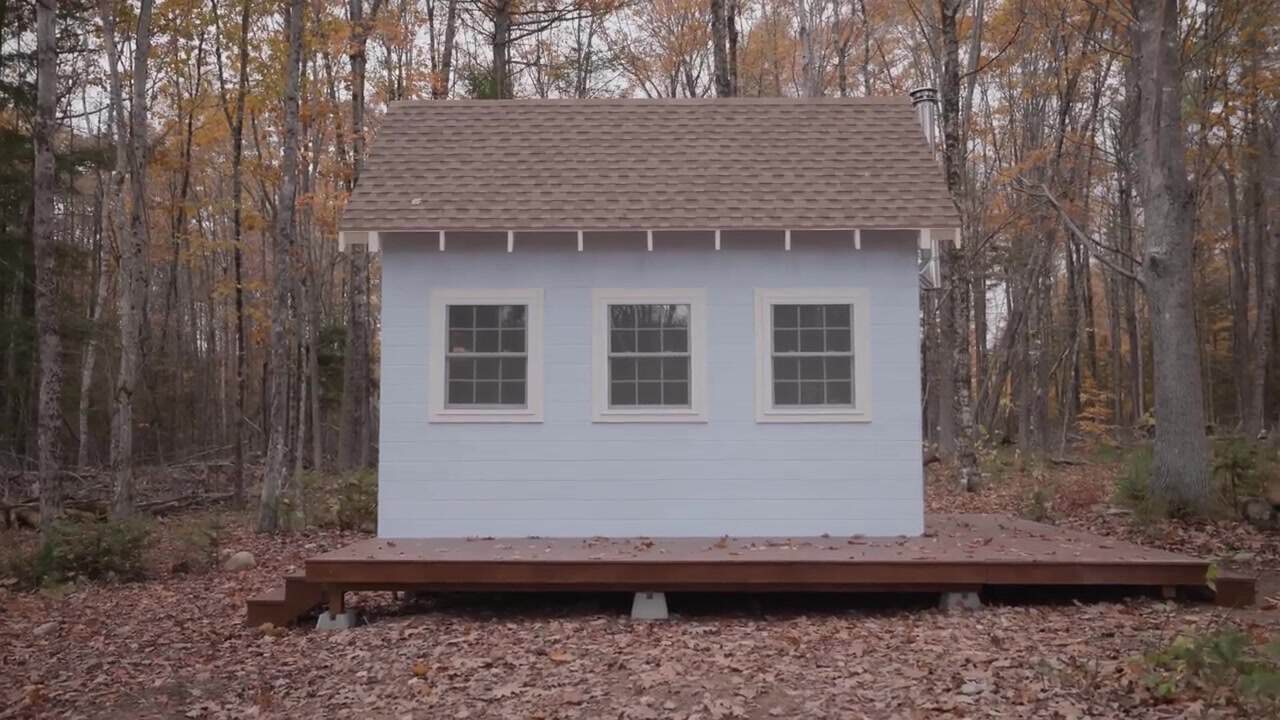
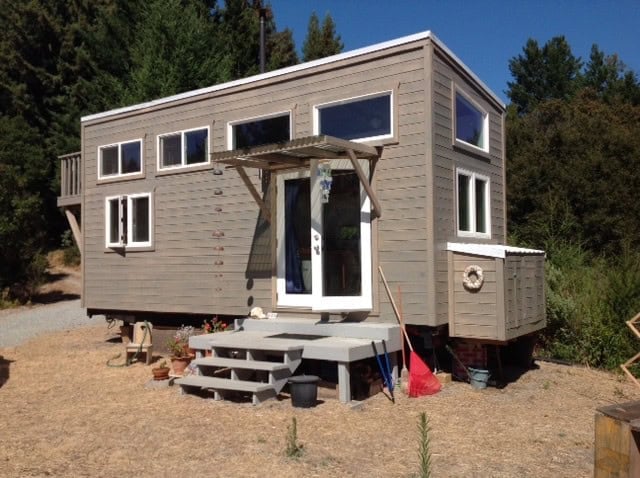
Months later I decided to put in my first cabin, I bought a 10×18 from weatherking (apx. $4200.00), it was just a shell.
I put in paneling, bed, couch, small coleman table/sink combo and shelving. I also purchased some solar panels and four 35amp hour batteries for power. I camped out until the cabin was delivered, this was in late May. I had everything unpacked and was getting ready to work on the cabin when long behold a blizzard hit, my paneling was flying across the land, stuff was getting wet and the temp went from 75 degrees to 30 in a matter of minutes. Luckily I have one neighbor (only one) who lives about 100 yards away who came to help, we got everything inside and covered and the learning experience began.

After a couple of years of trials and errors, and frustrating problems I am close to being done. To make a long story short the biggest hurdles are toilet, water, and power, and here is what I did..

The toilet was expensive but I settled on a compost toilet, Natures Head, I was able to hook the fan wires up to my solar charge controller load and it works perfectly. Never smells and is as big as a conventional toilet. The cost is about $1k but worth it. Pooping in a bucket with a bag and hauling it home with you really smells, especially in the summer, I HIGHLY recommend this!!

The water is still a work in progress but I am happy where I am at with it now. I have a 600 gallon water buffalo and two 300 gallon tanks. I can get water at the firestation in town which is about 10 miles away. (The population is 2500). I use 5 gallon buckets, one full and one empty and Zodi battery powered sprayers for my sinks and shower. So far they have lasted over a year on the same batteries, I highly recommend them. My shower is in a resin shed on the outside of my small cabin, I heat water up on my butane stove or wood stove on colder weather. A well is the next step but we shall see, so far it is out of my price range.

Last of all power. I ended up with four 100 watt panels, ten 35 amp hour SLA batteries and a 30 amp charge controller on the small cabin, I have a cobra 1500 watt inverter, works very well. The large cabin (12×30) I have six 100 watt panels, a 45 amp hour charge controller and a 2500 watt Whistler inverter. The challenge was what size wire to use on the batteries.
The small cabin I use 4awg and the large cabin I use 0/2 awg. Since using these gauge wires I have had no problems. For the solar panels, I nailed 4×8 plywood to wooden sawhorses and then tarred the plywood (3/4 in thick). I then glued the panels to plastic solar panel moldings and it seems to work just fine. Its heavy but movable (if need be) and durable. It is very windy up there, and so far no issues and its been about 2 years.

When it’s hot I have a portable swamp cooler which does cool by 20 degrees. I have a 5.0 cubic freezer for food. It’s an Igloo and uses less power then a small refrigerator. I know this because I bought both, first I purchased the refrigerator, which is 1.8 cubic feet and uses 185KW a year, vs. the freezer which uses 174KW a year. I also went with the freezer not only for room, but I also bought freezer packs and use a cooler as my refrigerator. This way I just switch out the freezer packs every few days and my fresh food stays cool, during the winter I can put everything outside on my porch.

This has been one heck of a learning experience and all I have left to do is put in the wood stove in the large cabin, which will be done very soon. I watched a ton of YouTube videos and read hundreds of articles, believe me this was not easy. I re-did some things more than two or three times, so, for whomever tries this, be patient. In the end the small cabin became my bedroom/bathroom and the large cabin is my kitchen, dining and family/guest room. If I have guests I also have a flushable portable toilet on hand which I can put in the large cabin, and my sofa folds down to a queen sized bed.


Both wood stoves are done and work great. Let me say they are not easy to understand at first so here is some helpful info. They are not like fireplaces, the dampers need to be closed in order for them to work properly, this creates a vacuum to pull the smoke out of the chimney. Believe me I found out the hard way airing out my cabin one night. In addition, they do not distribute heat by themselves unless they have a blower on them. I have read many posts whereas people were upset because they did not heat up the sq. footage as stated. To fix this issue buy what is called ECO FANS. They require no electricity or battery, they simply work by the heat given off the stove itself, there is one on the black cast iron stove pictured (and one behind the barrel stove). They are about 100 bucks but well worth it!


I also forgot to mention what size battery I used in the large cabin, which were 200ah a piece. I also used a 45amp hour Tristar charge controller with 8awg wire to the batteries and 0/2awg wire between batteries and the inverter. These are ample to run a freezer constantly, a tv, satellite, charge phones, laptop, etc. I can even run a full sized vacuum (yes all at once). Do not skimp on the wires, I have seen them melt when they are too small (another learning experience).

Images © Michael Scheer
Lastly I had a drain put in the large cabin, so all I need to do is bring in water, the small cabin is next and this has made a huge difference, especially since I moved the water tank closer. In the near future I may buy another large tank and put behind the cabins on the hill to gravity feed water but we shall see.
I hope this added info helps, good luck to all who try this road.
Our big thanks to Michael for sharing!
You can send this tiny house story to your friends for free using the social media and e-mail share buttons below. Thanks!
If you enjoyed this tiny house story you’ll absolutely LOVE our Free Daily Tiny House Newsletter with even more! Thank you!
Disclosure: This post may contain affiliate links. If you purchase through one of our links, we may earn a commission at no additional cost to you.


Alex
Latest posts by Alex (see all)
- Designing a Tiny or Small Home for Two (or More) - November 19, 2026
- Win a Free Spot in a Wild Abundance Basic Carpentry Class Near Asheville (Enter by Nov. 30) - November 18, 2026
- Every Tiny Home for Sale at Canoe Bay Village: A Guide to Wisconsin’s Lakefront Escape Community - November 18, 2026




Join the Conversation
19 comments