
Disclosure: This post may contain affiliate links. If you purchase through one of our links, we may earn a commission at no additional cost to you.
Mr. Luker’s Tiny House project is a relatively new blog recording the building experience for new tiny house builder named Joe.
He really doesn’t share much about himself on his blog or on his attached Google+ profile, but just from reading through his blog you can tell that he is passionate and dedicated to the project.
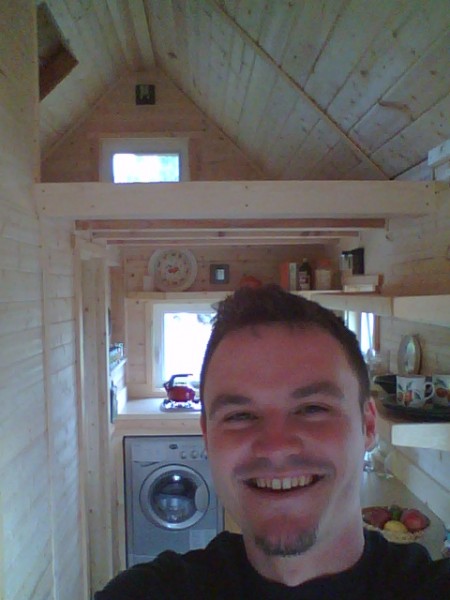
He started the project in April 2013 by explaining his reasoning for building a tiny home. Like many of us he was attracted to the idea of reducing his finances and the positive environmental impact of a small home.
He explained in detail about his trailer choice and even asked for advice on the overall construction in some the earliest posts this year. You can also see his Sketch-Up designs for the building on the website.
I encourage you to scroll or click below for more of Joe’s story and photos of his tiny house project.
It is exciting for me to see a new tiny house construction blog. So many of the people that I got to know when we began our own projects years ago have already finished their home and are now enjoying the tiny life.
But I have learned that these types of construction journals are invaluable for people looking to start their own tiny houses. Joe provides a lot of photos so far and details about the steps he’s taking.
He mentions the specific types of tools he is working with or that he still needs to start the next phase of the build. I even love the personal touches as he describes a rosemary plant that he found and what music he was listening to while building.

Joe even shares his mistakes with his readers:
“Aside from framing, I learned a great lesson, and I should note that there are some people who told me to watch out for this in advance(Joe Sr.), but hey I’ve always been the one to touch the stove to learn it’s hot…
In the process of moving the project up to Independence, despite my best effort getting everything tarped, the trailer got completely soaked with rain and my decking was saturated.
Cut to the scene of a very cold, very wet me under the trailer in independence stabbing my new PVC barrier to let all the water drain out. 🙁 I thought I could get away with letting everything dry out for a few weeks, but alas everything warped like crazy and rotted through… So I ripped off the old decking and gave it to my neighbor. I’m really glad I learned this BEFORE I put my walls up! It could have cost me a lot more money and time than just the plywood. Lesson learned.”
I learned a long time ago that it isn’t truly an adventure if you don’t have a moment where you ask yourself, “What the heck did I get myself into?”

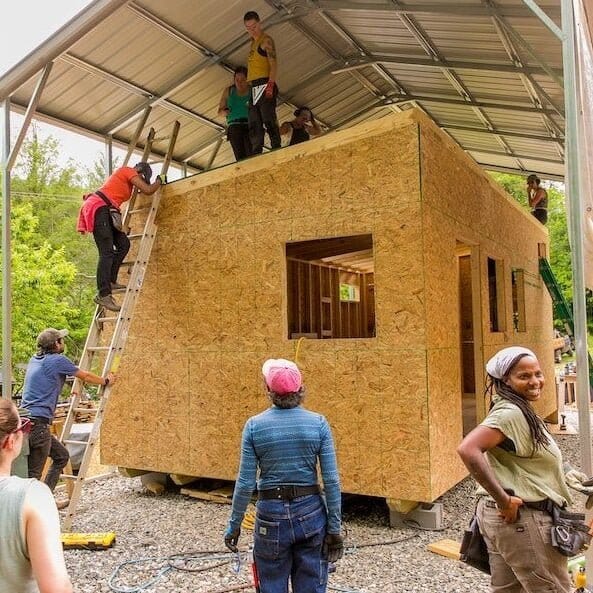
The latest entry, posted on August 2nd, features dozens of photos of the walls and loft going up. I absolutely love the loft-over-porch design and can’t wait to see how it looks finished.
Keep watching Joe’s blog for more updates on his tiny house build and to get a good sense of what it takes to construct a tiny house in the first place.

If you want to explore more of Joe’s tiny house project visit his blog here.
And if you liked this post you’ll love our free daily tiny house newsletter!
Disclosure: This post may contain affiliate links. If you purchase through one of our links, we may earn a commission at no additional cost to you.


Laura LaVoie
Latest posts by Laura LaVoie (see all)
- Top 5 Things to do on a Rainy Day in Your Tiny House - October 20, 2013
- Top 5 Reasons I Love My Tiny House in the Fall - September 24, 2013
- 3 Tips You Should Know Before Building From a Tiny House Builder - September 18, 2013







Join the Conversation
7 comments